Holy Rosary Catholic Church
Detroit Lakes, MN
4 manuals, 66 ranks, 30 digital voices
Click here to view the stoplist.
Newest posts are at the bottom
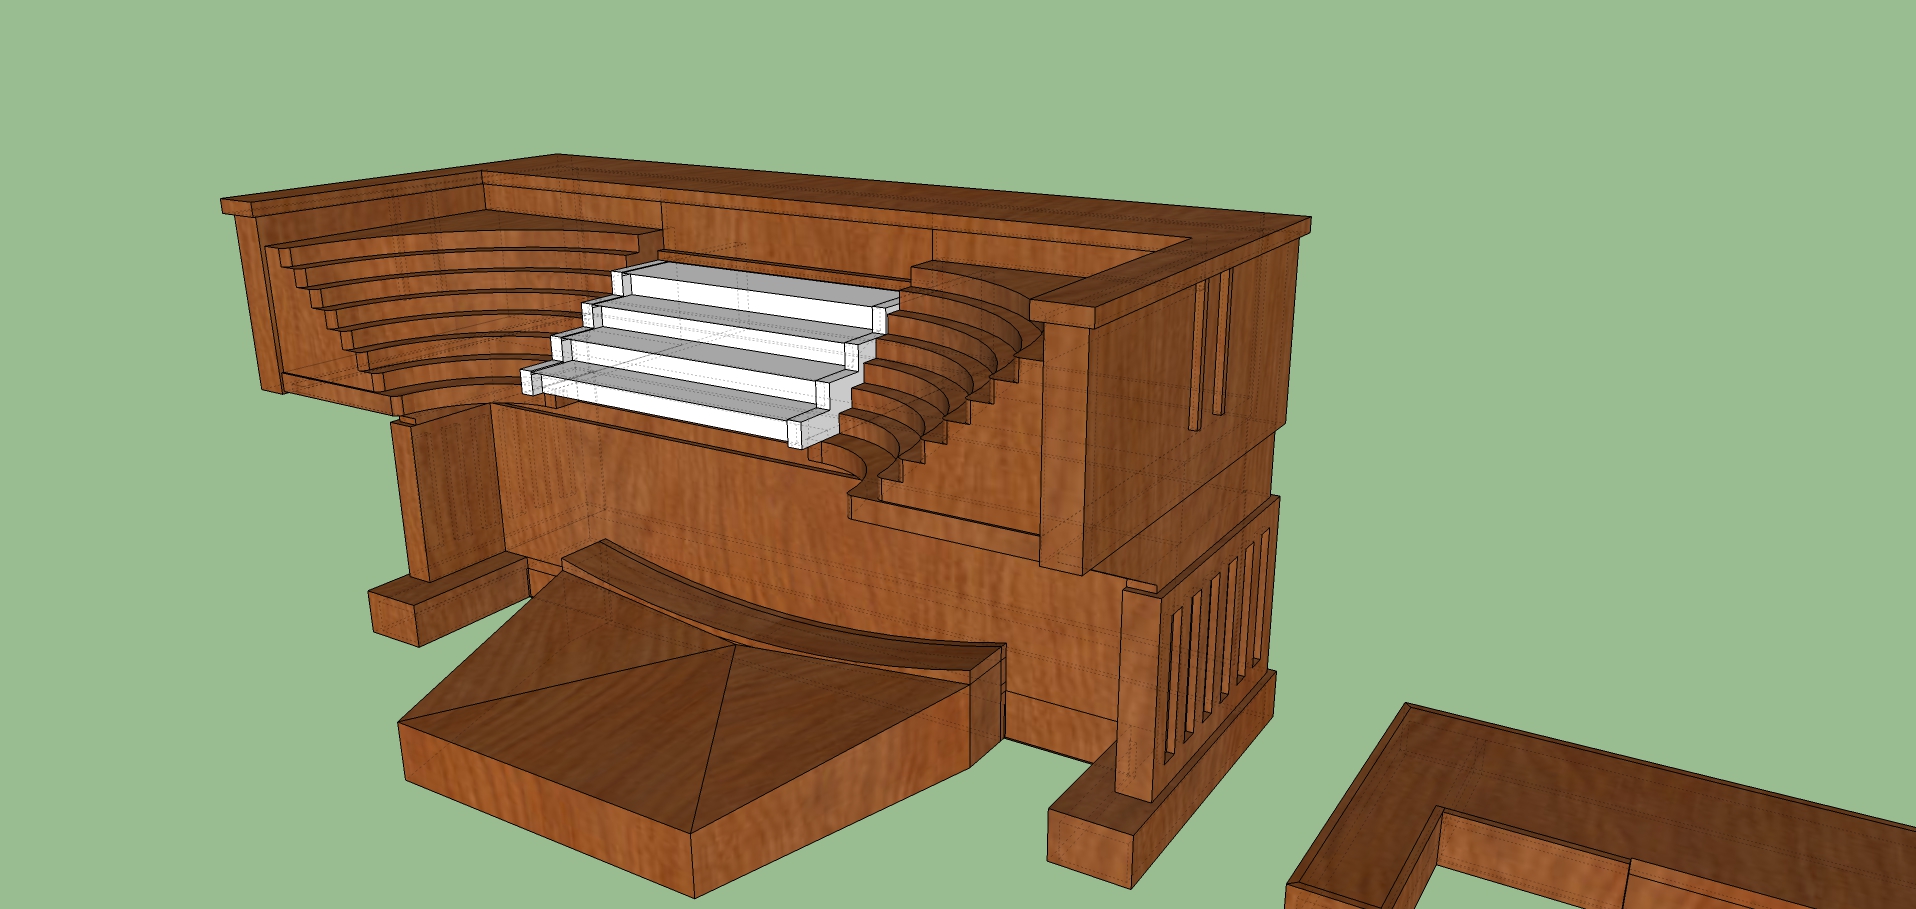
3D rendering of the new console.
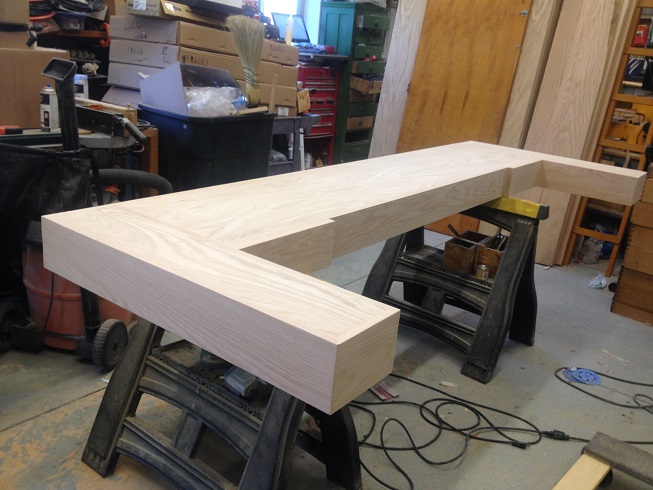
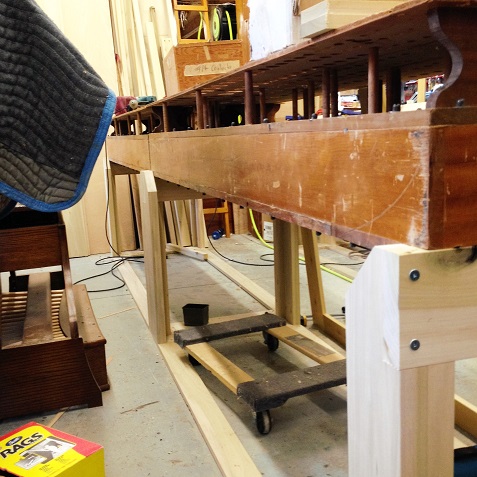
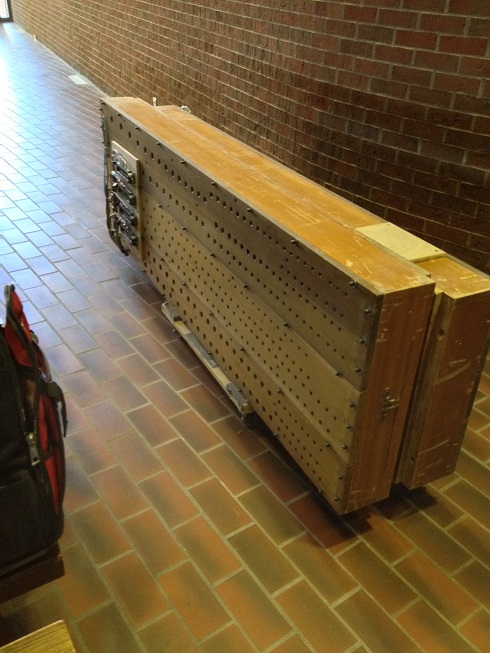
The platform for the new console. This is actually the bottom of the console with 10 heavy duty casters installed underneath to allow the console to be moved around as desired.
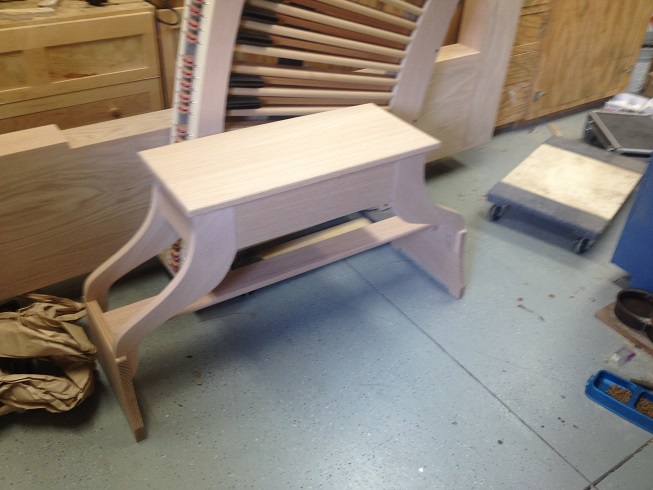
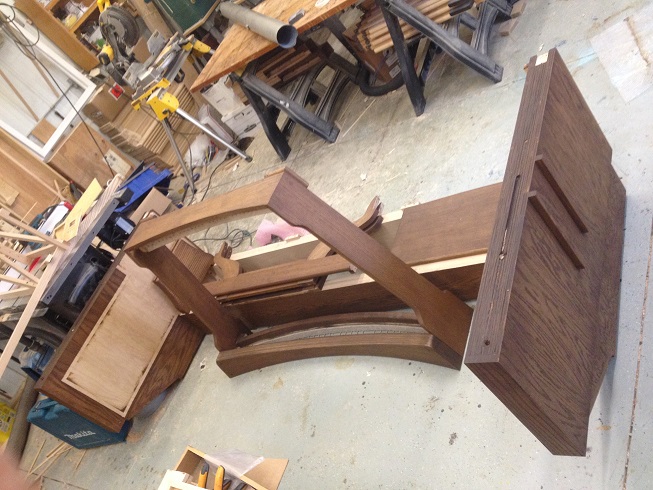
The bench, called "dog-leg" style for the shape of the legs, built and ready for finish. The top of the bench may be adjusted up and down to accomodate organists of various heights. The unique shape of the bench allows the organist to get on and off the bench without banging his or her knees into the organ console which wraps around each end of the bench.
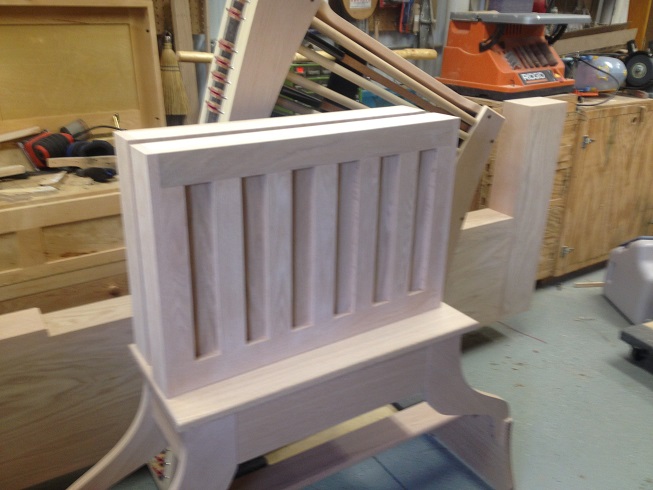
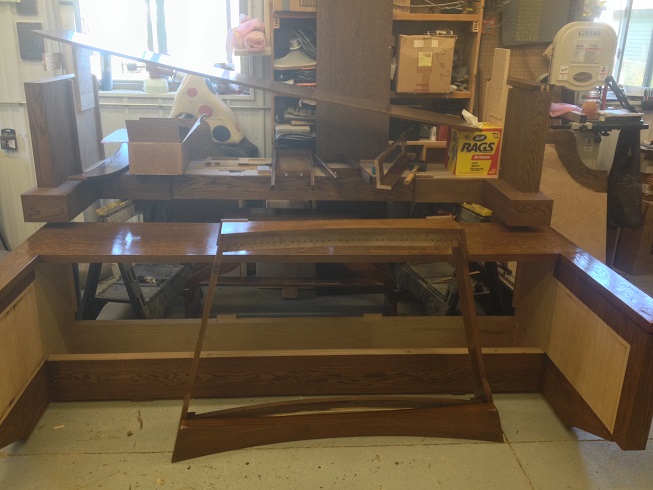
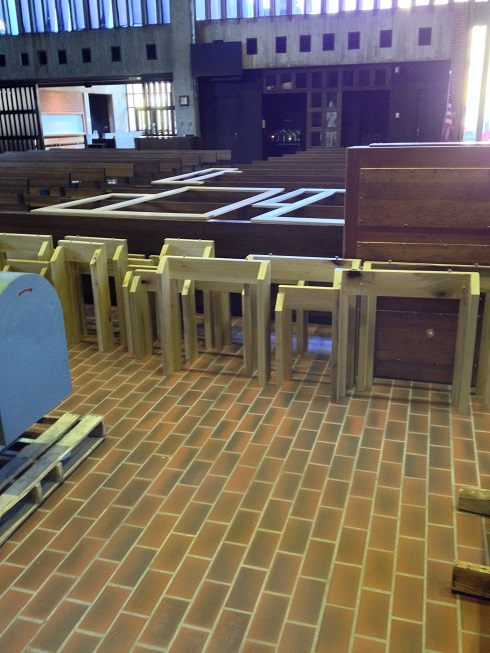
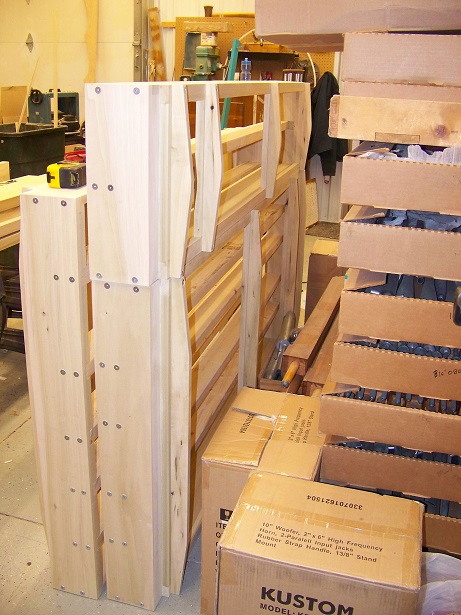
The lower portions of each end of the console standing on top of the bench. These panels are designed to reflect the design of the sliding doors on either side of the chancel.
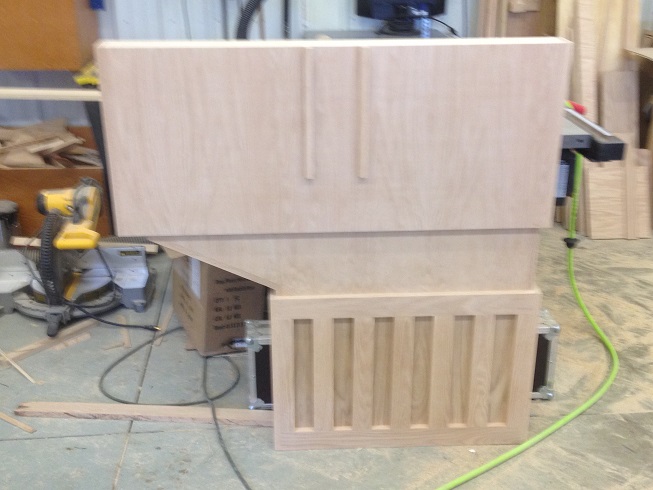
This is one end of the new console.
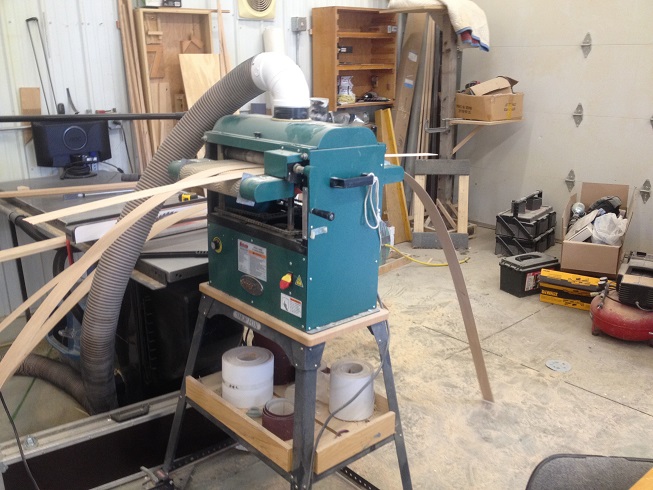
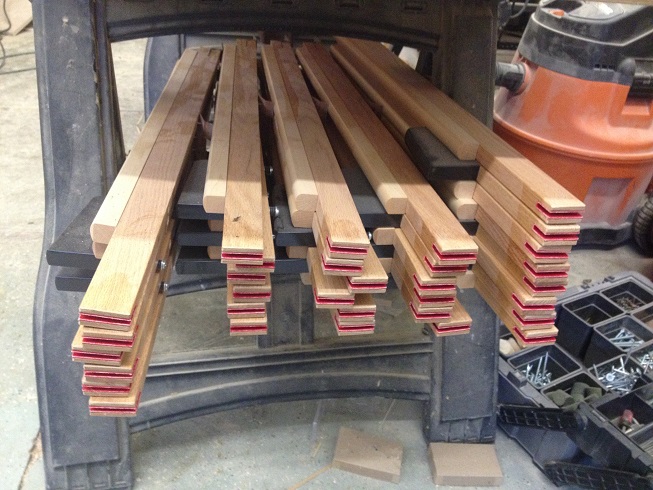
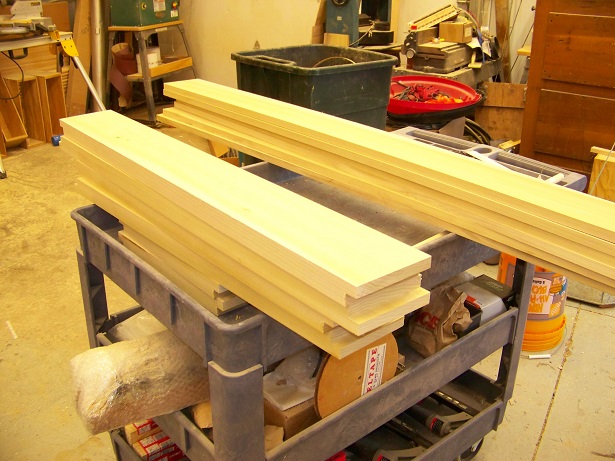
Sanding down thin slices of oak for console molding.
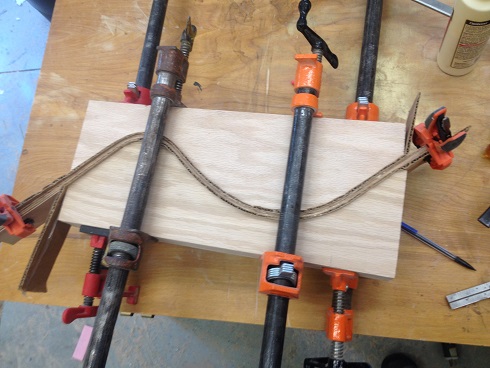
Several layers of 1/16" thick red oak are glued and clamped in this form to create the molding that will wrap around the front of the keybed of the console.
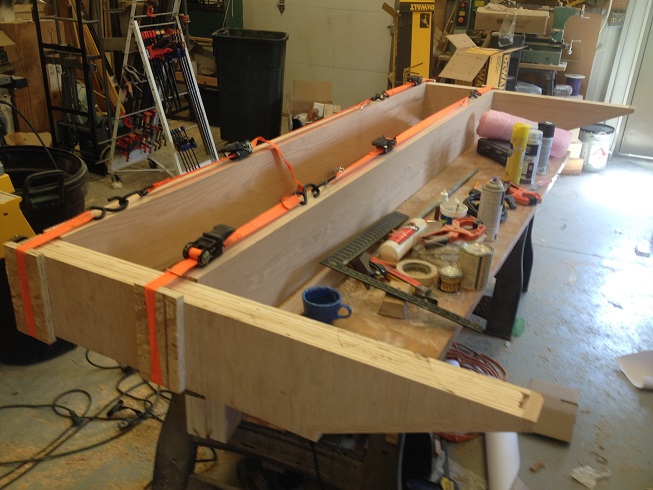
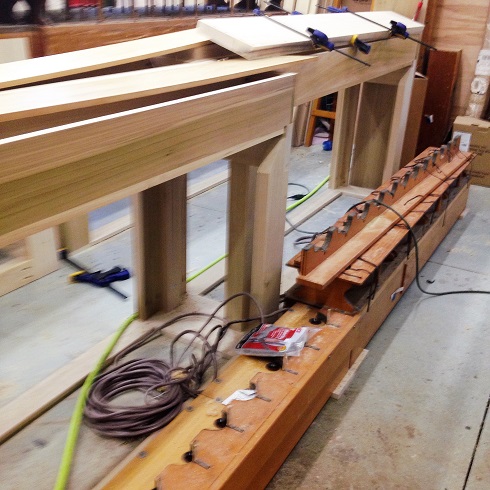
The central framework of the console is being assembled. The two long beams are 3" x 8" solid red oak and are joined to the end pieces with mortise and tenon joinery.
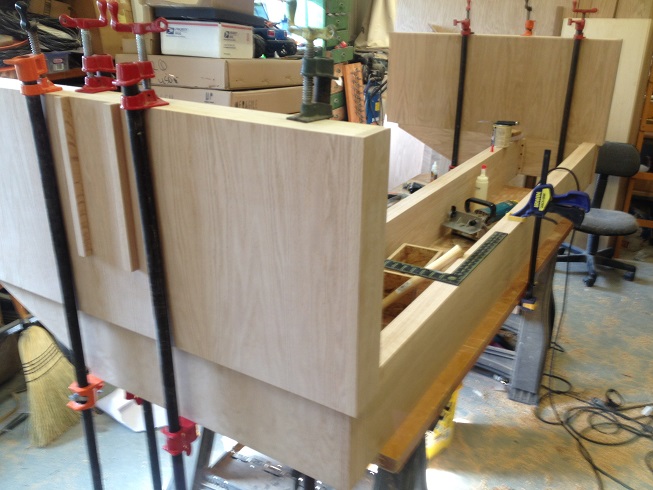
The upper end slabs of the console are being attached to the central framework.
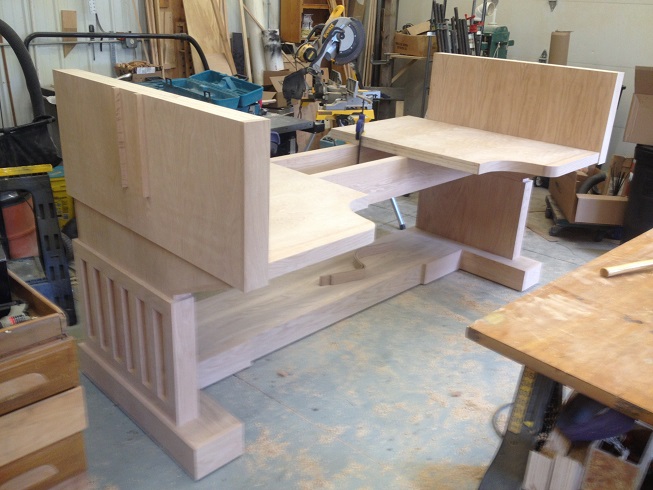
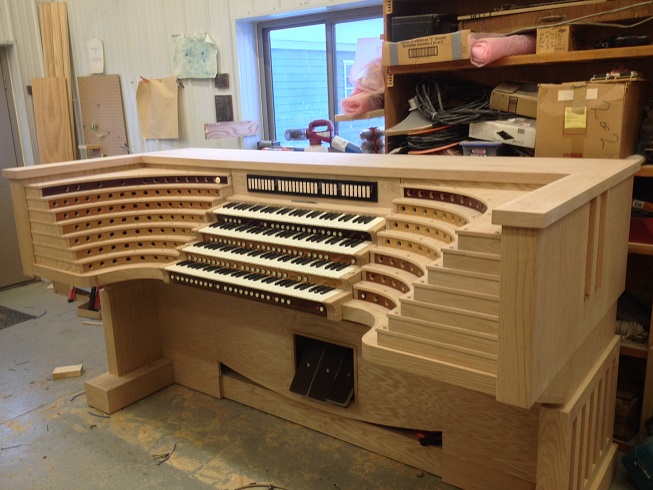
The console shell is complete! The central framework has been installed onto the lower panels and the moveable platform. The "bed" where the keyboards and stop jambs will sit is also temporarily installed pending final veneering an fitting. Total width is just over 8 feet.

The manual keyboards, bench and pedalboard are setup for their first test fitting.
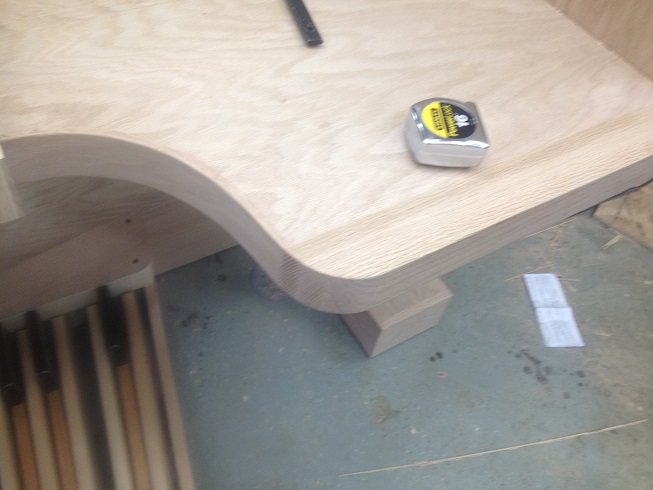
The curved and laminated edge of the keybed.
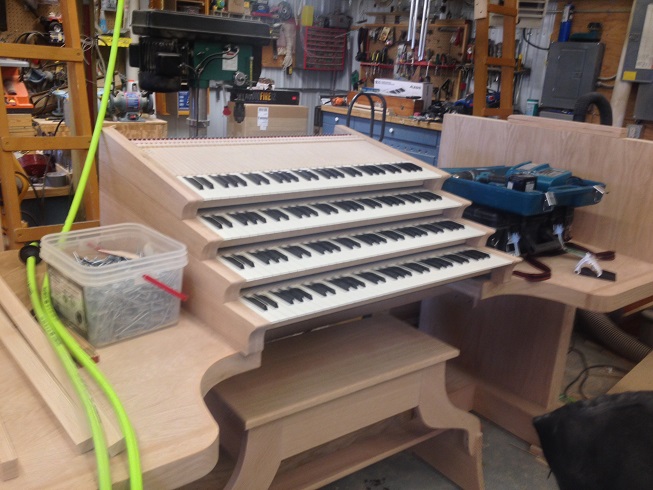
Oak cheeks installed on the manual keyboards.
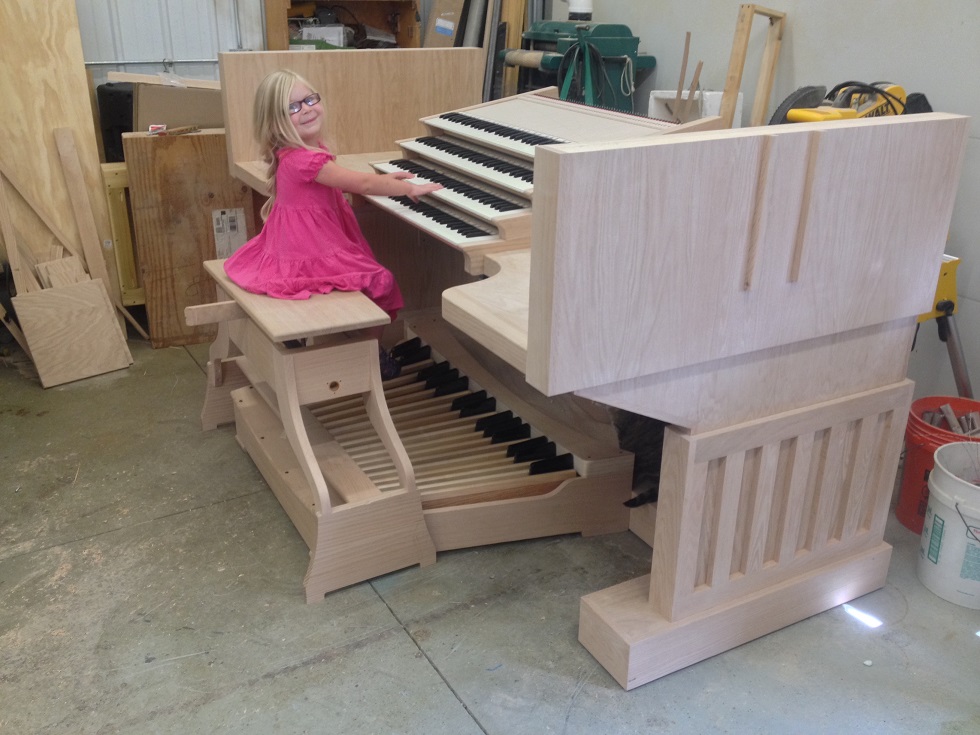
The new console is demonstrated by my lovely assistant, Lily!

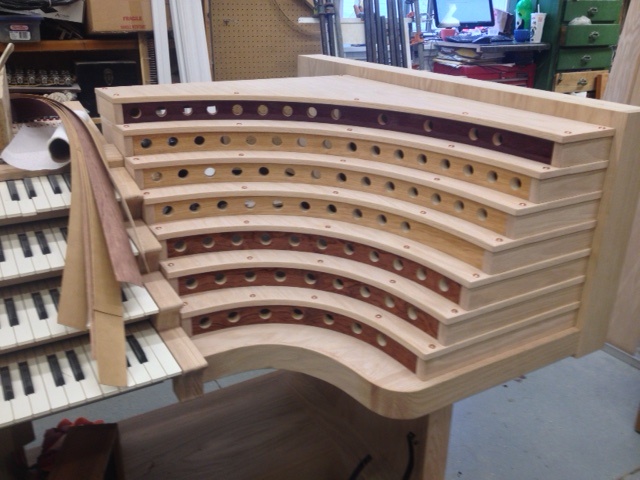
The first of the curved stop terraces is glued up of 6 laminations of pirch plywood bent around this form. Forms for the next terraces are at the upper left. Each side of the console has 7 terraces each of which is a different curve.
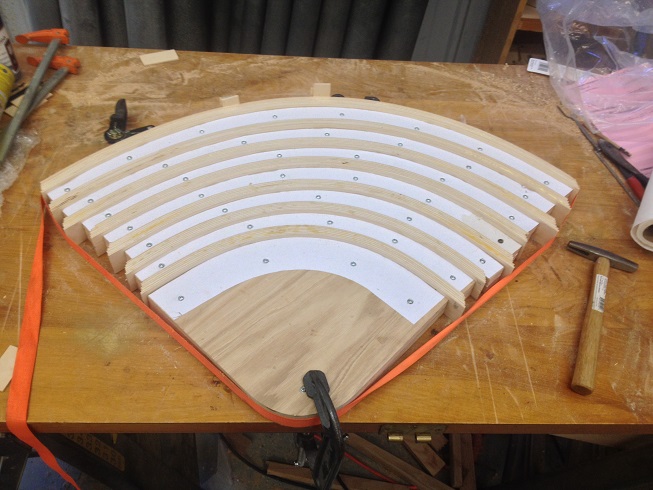
Here are all 7 laminations for one side of the console. The white sections are forms/spacers to change the curvature for each successive lamination. 7 more to go.

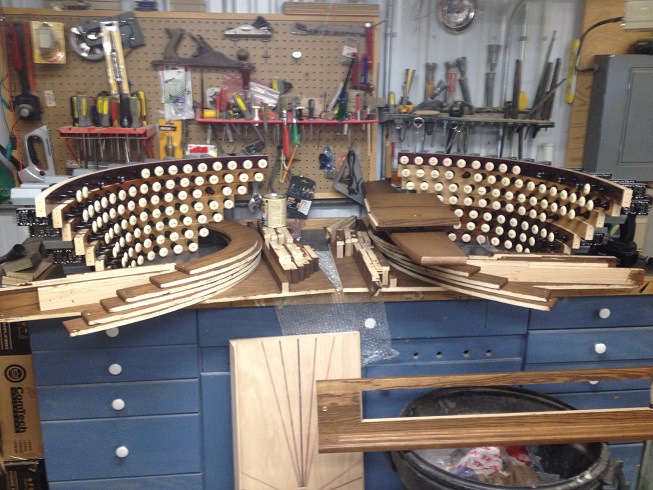
A new "perspective" on the console! Thank you iPhone panorama camera. Here the left stop jamb has been assembled in "mock-up" form to fine tune all the many angles involved. No molding has been installed at this point. The right stop jamb is in the process of being mocked up in this picture.
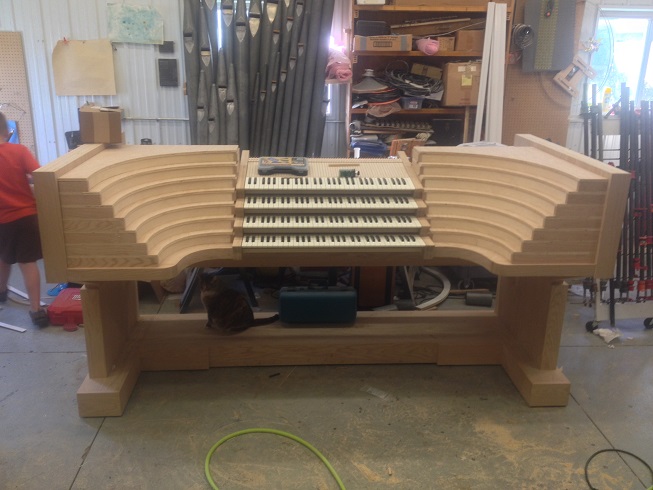
Both sets of stop jamb terraces have now been assembled and the full width of the console is shown here minus the curvy panorama effects shown above. Next step is moulding to wrap the edges and installation of the multiple species of wood veneer that will match each terrace of stops with the proper keyboard.
Here are the stop terraces for the right hand side of the console. They have been veneered with an assortment of exotic hardwoods to make it clearer which stops go with which keyboard. There are 5 "divisions" to this organ so 5 different veneers will be used. The three shown in this picture are Purpleheart (dark purple/brown) from South America for the Resonance stops, American Hickory (light tan) for the Great stops and Bubinga (medium brown) from Africa for the Choir stops.
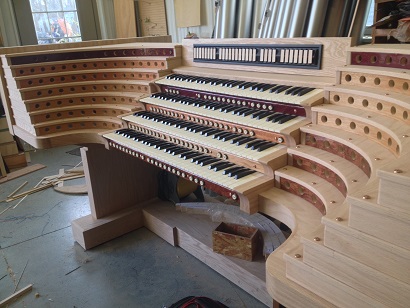
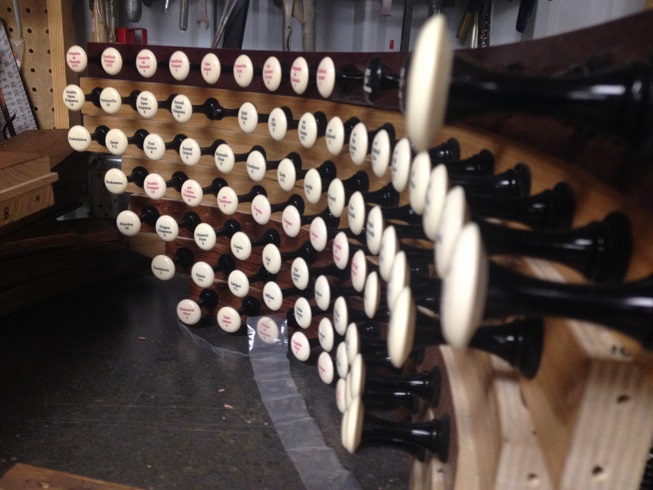
Right side stop jamb pre-assembled prior to finishing. The individual stop terraces have been finished with many layers of a high-building acrylic clear coat to bring out the color and beauty of the exotic veneers. The dark purple (Purple Heart) terrace will have stops of the Resonance division, the golden tan (Hickory) terraces will have stops of the Great division and the medium brown (Bubinga) terraces will have stops of the Choir division. Each hole gets a stop knob. There are 80 stops in this stop jamb and thanks to the curving sweep of the terraces they are all easily within reach. This design also keep the stop of the console low, barely higher than that of a console with only 2 keyboards, allowing the organist to easily see over the console in all directions.
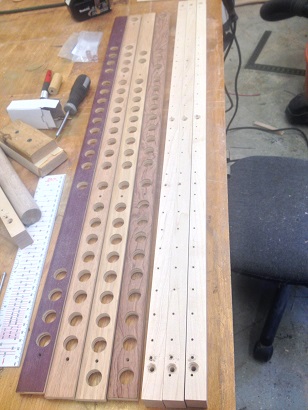
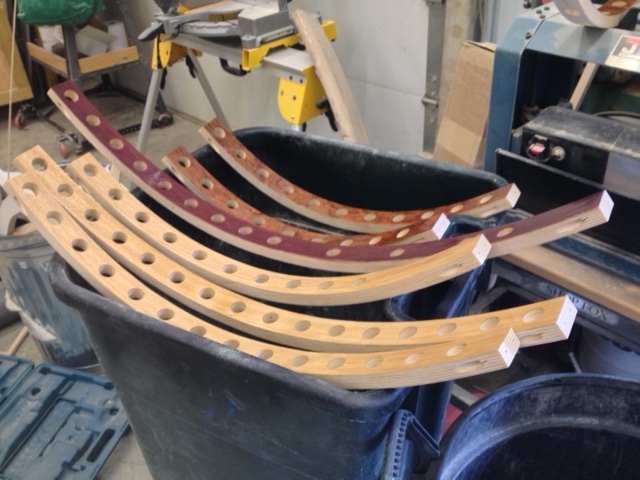
Shown here are the 4 keyslips prior to assembly. These strips of wood will be installed under each manual and are designed to hold the pistons/preset buttons. Each hole in the 4 strips at the left gets a botton. The wood veneer on each slip is matched to the veneer which backs the stops for that keyboard.
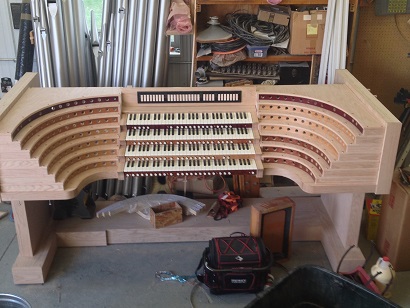
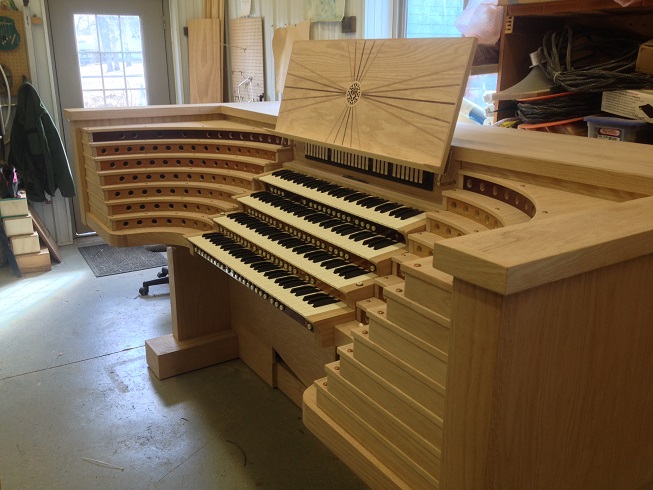
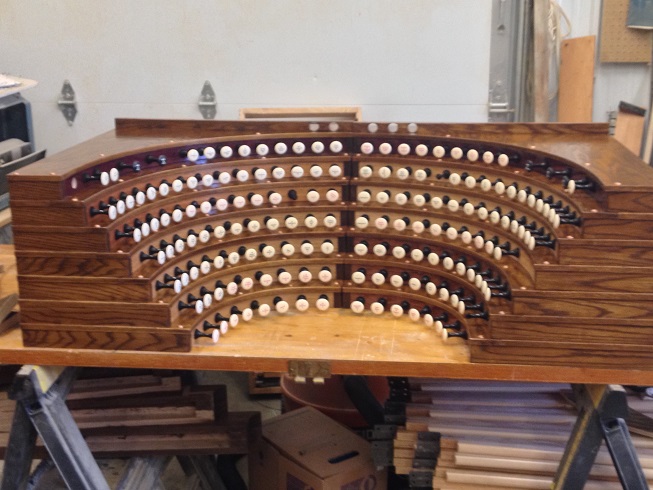
The console interior is nearing completion. Both side jambs are assembled here and the presets have been installed under the manual keyboards. The coupler rail is in place above the top keyboard.

A close up view of the organ's pistons or preset buttons. The organist can program a different selection of stops to come on with the press of each of these buttons. With over 80 presets and almost 100 levels of memory that works out to about 8000 possible preset combinations!
The console shell is now complete with its lid in place as well as the back panels (not shown) installed. The next step is to apply stain and several coats of sprayed laquer.
The decorative music rack on the console. There will also be a clear music rack for use when line of sight is important.
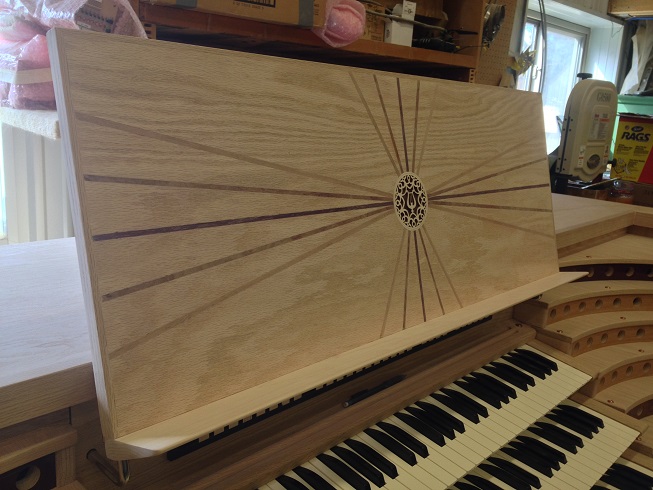
Close up of the music rack. The music rack is made of Red Oak with a laser-cut lyre medallion at the center. The rays are inlays of the same species of veneer that are used for the stop terraces and the piston rails.
The console has been dismantled for finishing. Staining is almost done. This is the top section of console along with parts of the bench and pedalboard. Stain is provided by Sherwin Williams to coordinate with the existing wood work in the church. It looks quite flat at the moment with no finish on it. It will get 3 coats of moisture-resistant laquer which will warm it up quite nicely.
Pedal keys waiting to go back in the pedalboard frame.
Stop magnets, stems, and stob knobs have been installed in the curving stop terraces.
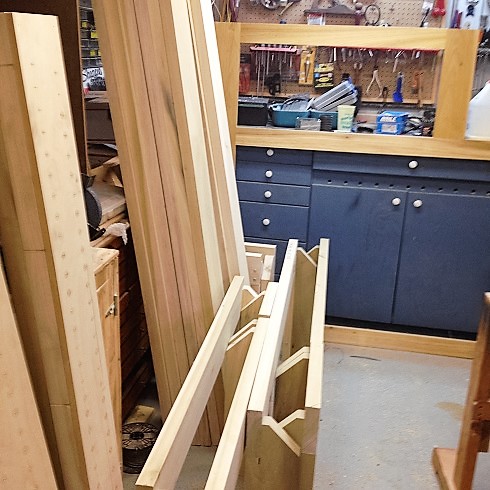
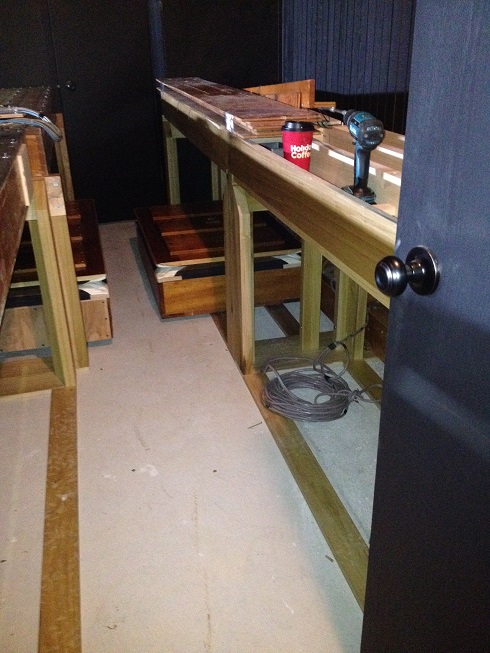
This is all the parts of the stop jambs. In total, the console consists of about 130 individual parts and sub-assemblies. All these parts are currently filling the shop as the finishing process continues.
The stop jambs have been reassembled after finishing.
Other parts of the console awaiting reassembly after finishing.

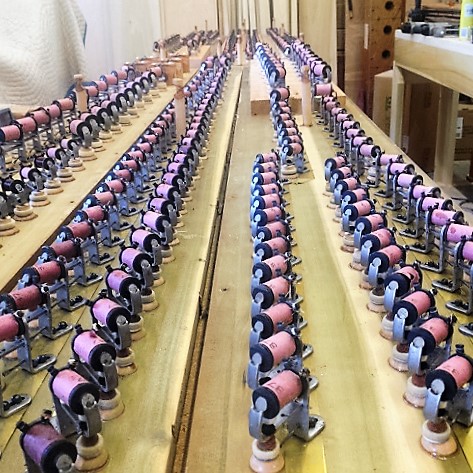
Underneath view of the two stop jambs. The gray devices are the stop action magnets which move the knobs when the organist presses a preset button. Also shown are the two electrical panels which will control the stops.
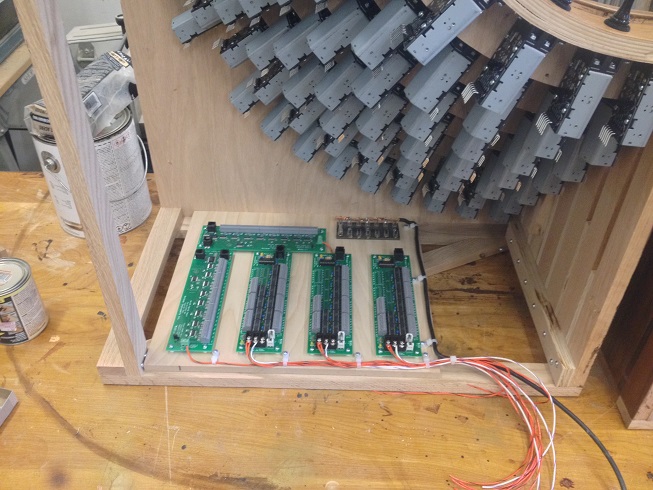
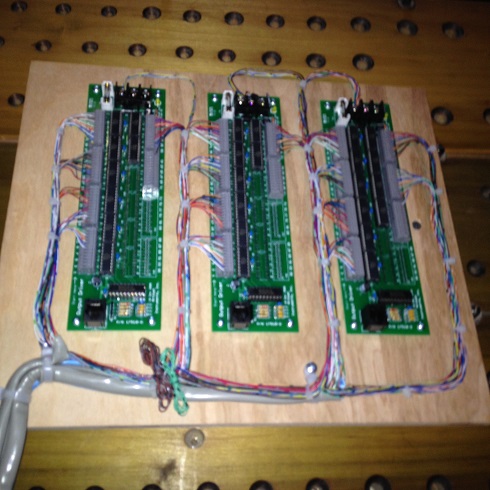
Close up view of one of the electrical panels. Wiring is now in process. For each stop knob, of which there are 168, there will be 4 wires which connect to this panel. That makes 672 wires in total!
New swell wind chests with framing. Vintage chests on floor from purchased organ.
Legs and framing for new Great windchests.
Vintage swell wind chests on new legs and framing.
The two vintage wind chests for the swell have been dismantled for inspection and rewiring. This is what is inside. One electro-mechanical valve for each pipe.
First day of installation at the church
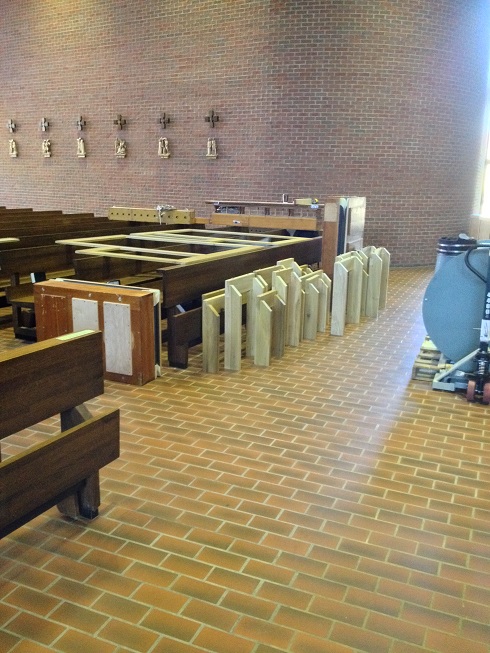
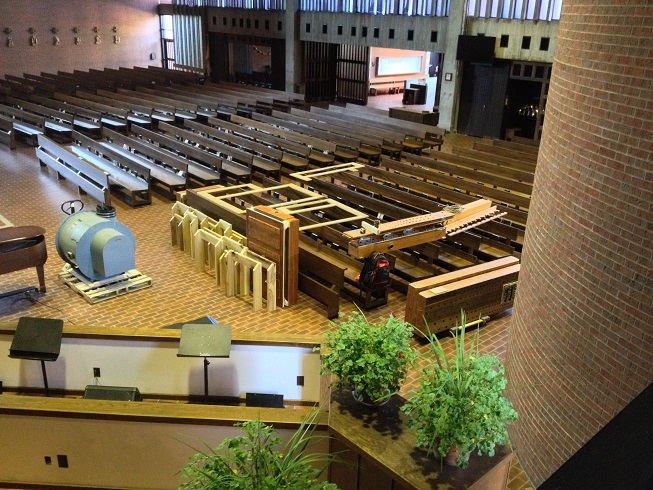
Framing, windchests, and bellows for the Swell and part of the Great staged in church for installation.
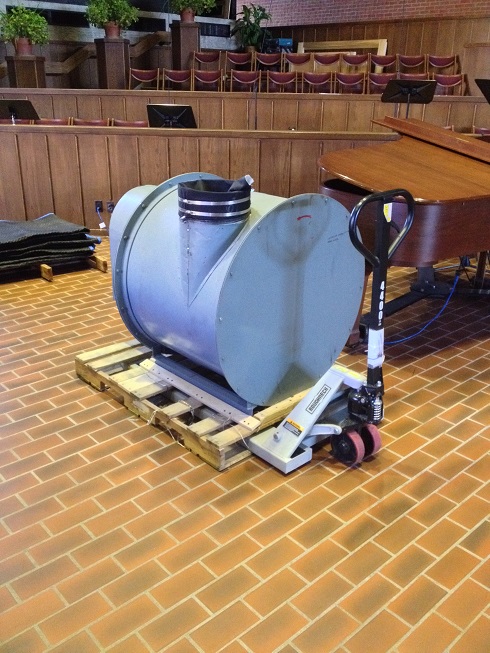
Main blower ready for installation
Chest legs. The windchests and pipes of the organ are supported by these heavy legs.
The two main wind chests for the Swell division. These chests were built by Wicks in the 1930's or 40's and were purchased and donated to the church to be part of the new organ. They have been inspected, reconditioned and rewired to prepare them for another lifetime of service.
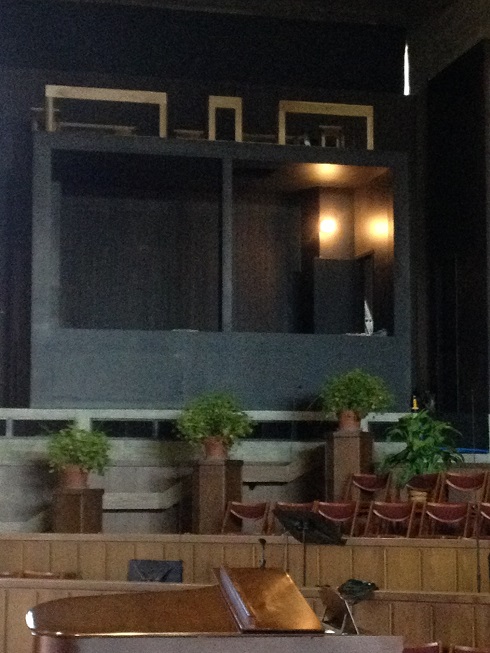
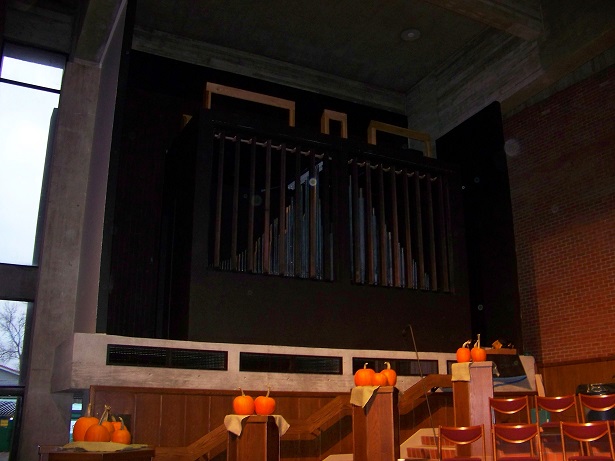
The new Swell chamber on the north side of the church. The Great pipes will be installed on top of this small room and the whole will be covered with decorative casework and display pipes.

Inside the swell chamber showing the main wind chests to the left with bellows on the floor in the back
Another view of the Swell chamber showing the auxillary wind chest shells (new) to the right as well as the framing that supports everything.
One of the new electrical panels that will play the pipes on the main Swell wind chests.
Great framework installed on top of the Swell chamber.
.jpg)
Wind chests being laid out. The circles represent the outside diameter of the pipes. They are carefully placed on the rack boards of the wind chest to allow the pipe room to speak properly.
Swell shades installed as well as the first 3 ranks of pipes in the swell.
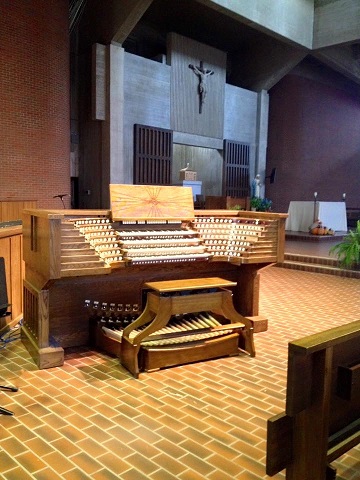
The new console has been delivered to the church.
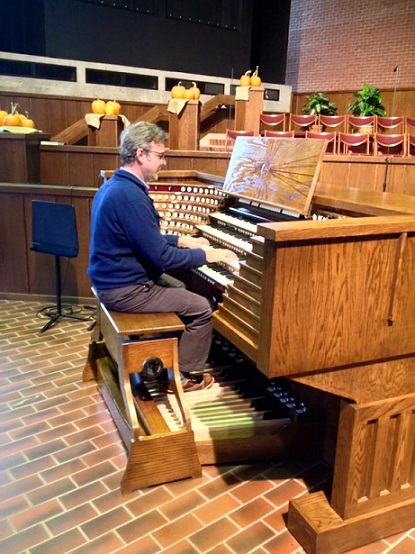
Scott tries out the new console.

Console and North organ chambers
Lumber being milled for the Great windchest shells.
Great windchest shells complete (three of them standing on their sides) with trays of Swell pipework on the right.
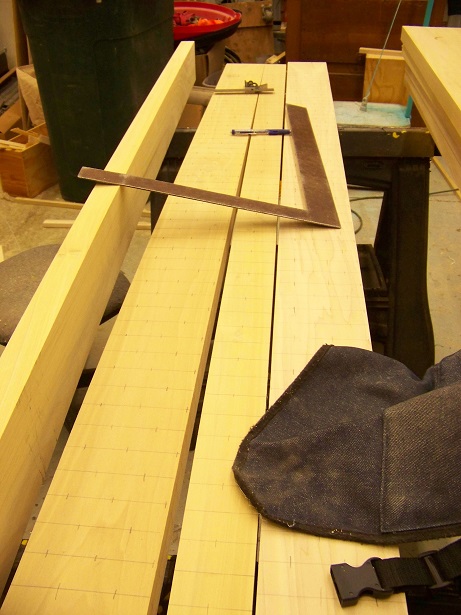
Great toeboards being laid out. These boards are the top of the windchest. The pipes stand on them and the valves to control the airflow to the pipes are mounted under them.
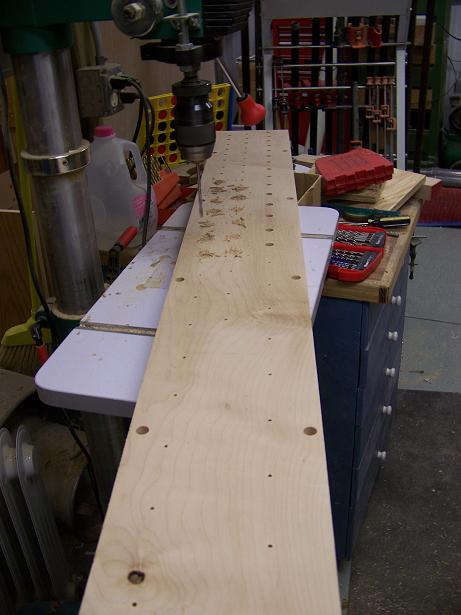
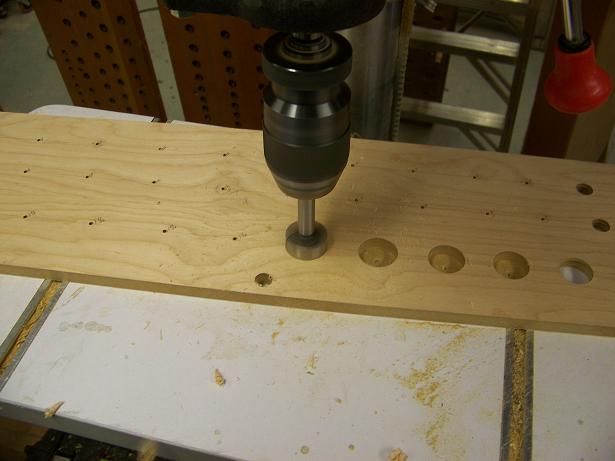
Toeboards being drilled.
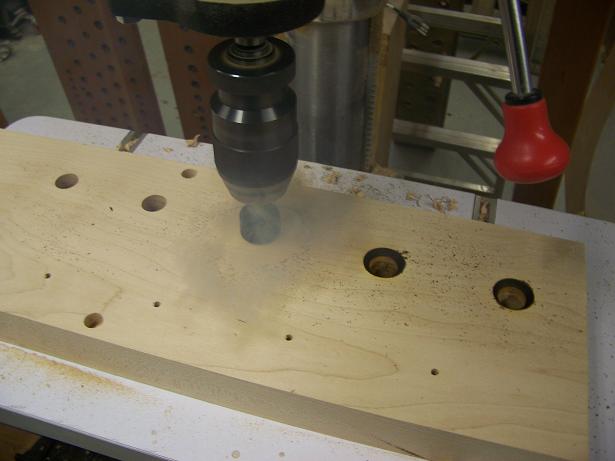
After the holes are drilled they are countersunk and burnished with a special stone bit. This bit is spun at very high speed in the drill press and pressed into each hole. The shape of the stone countersinks the hole and the friction generated burns in the countsink creating a prefect place for the toe of each pipe to sit.
The rack board is drilled next. This is a thinner board that is mounted a few inches above the toeboard. The hole in this board in conjunction with the hole in the toeboard keeps each pipe balanced upright.
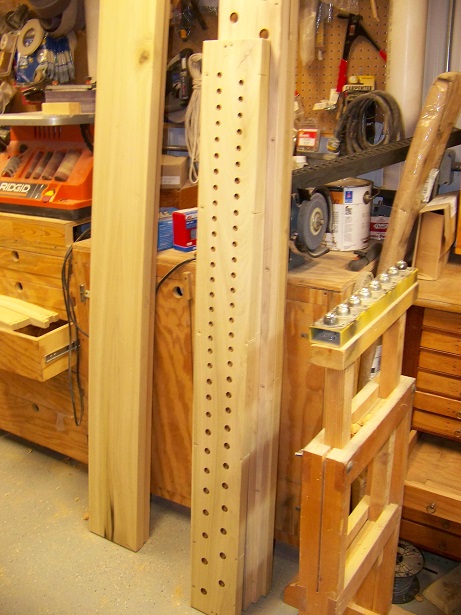
Toeboards drilled and countersunk. Each dark hole on the board will have a pipe standing on it.
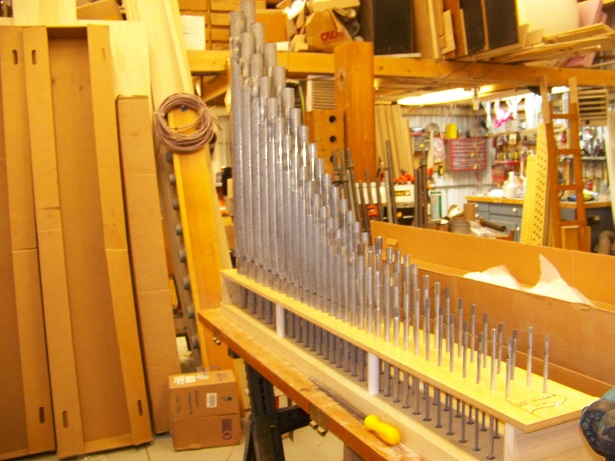
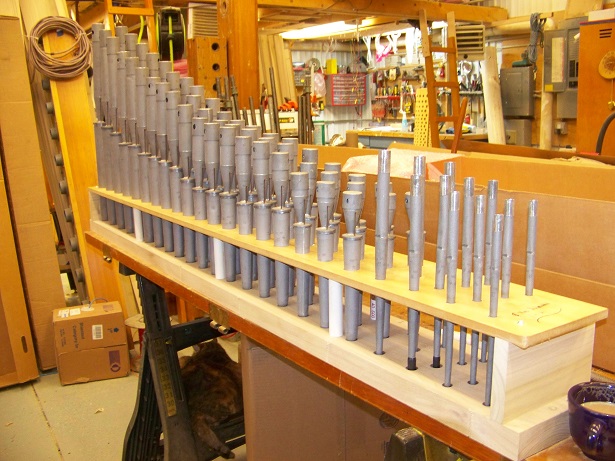
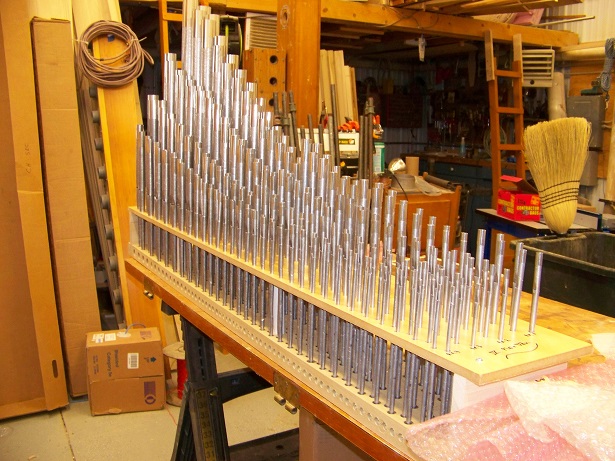
This picture, along with the next several, show various ranks of Swell pipework being "racked" or fit onto their toeboards. Each pipe is set in place and the hole in the rack board (thinner board) is adjusted with files or reamers to the proper size to firmly hold each pipe while still allowing it to seat properly against the toeboard (thicker board at bottom). This happens to be the 2 2/3' Nazard rank.

2' Doublette
8' Voix Humaine
IV Plein Jeu. This set of pipes is called a mixture and is actually 4 ranks of pipes that all play as part of the same stop.