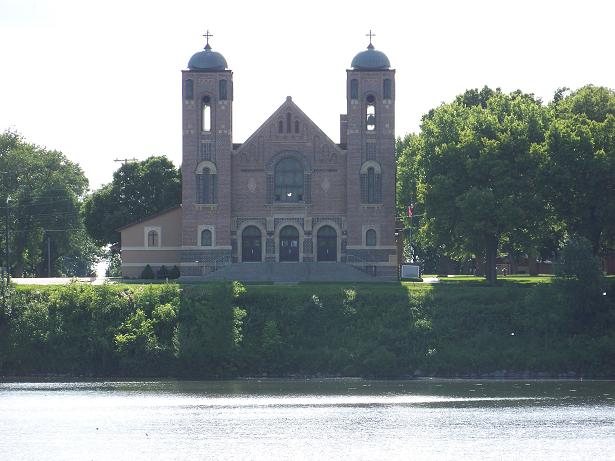
St. Gabriel's Catholic Church
Fulda, MN
2 manual Wicks Pipe Organ
This project includes the refinishing of the console, new solid state relays, MIDI, and cleaning.
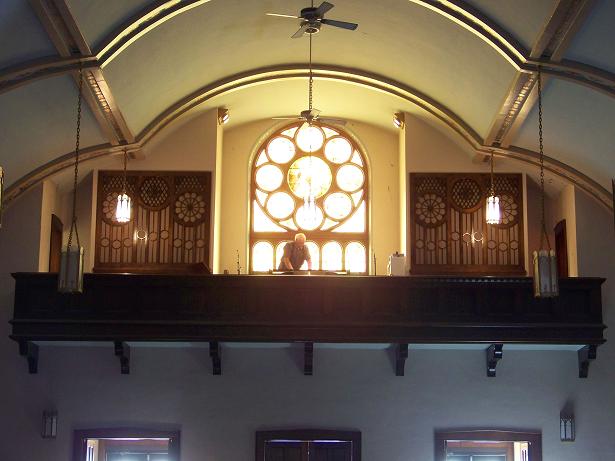
The organ is installed in the balcony of this church in two chambers covered by decorative grills. The console is installed in the center of the balcony beneath the window. The Great chamber is on the left and the Swell chamber is on the right.
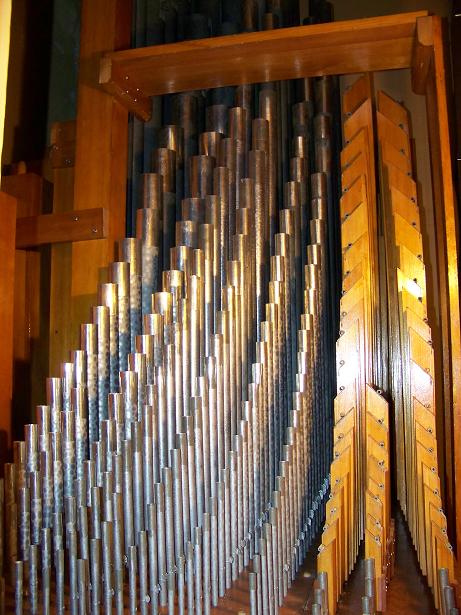
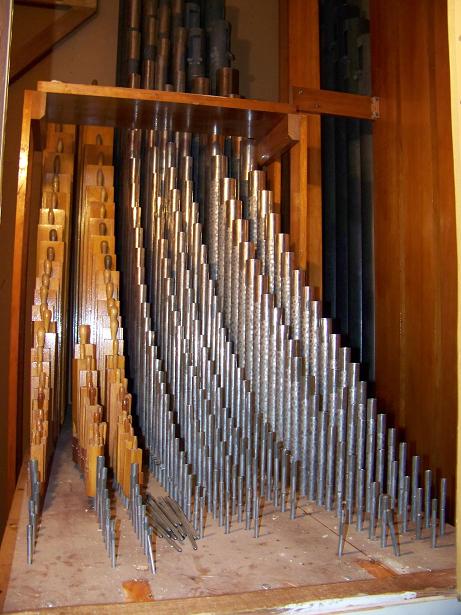
The pipes of the Great organ. From left to right the ranks are Diapason, Dulciana, Viol d'Gamba, and Melodia.
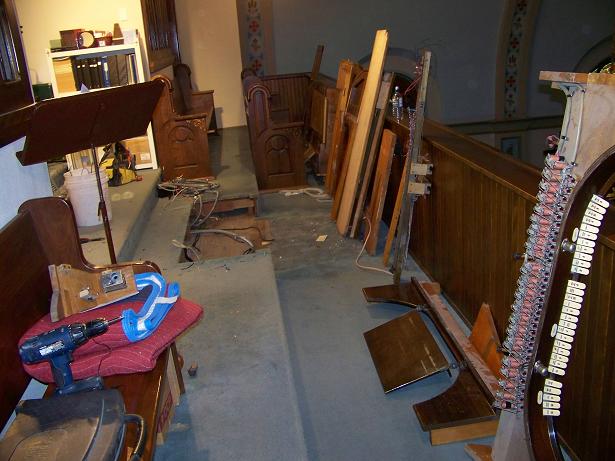
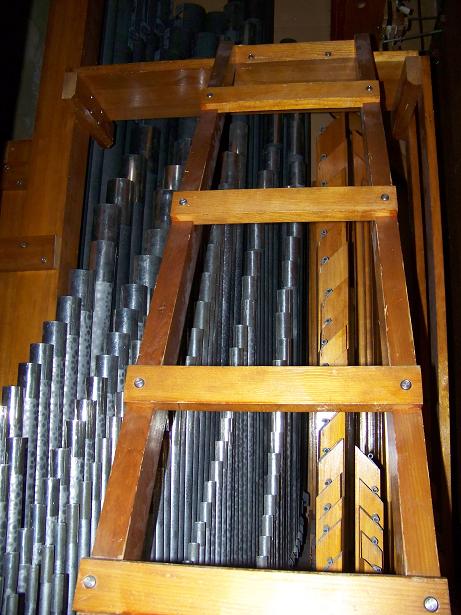
The console has been dismantled and is spread all over the balcony waiting to be lowered down to the floor.
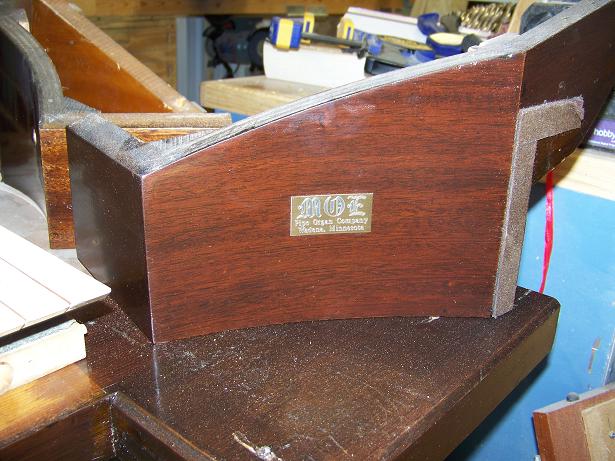
The console exterior has been delivered to the furniture stripper to have the old finish removed. The interior pieces, like this one, have had the finish cleaned up and new clear finish applied. This is one of the filler pieces that goes on the left side of the keyboards.
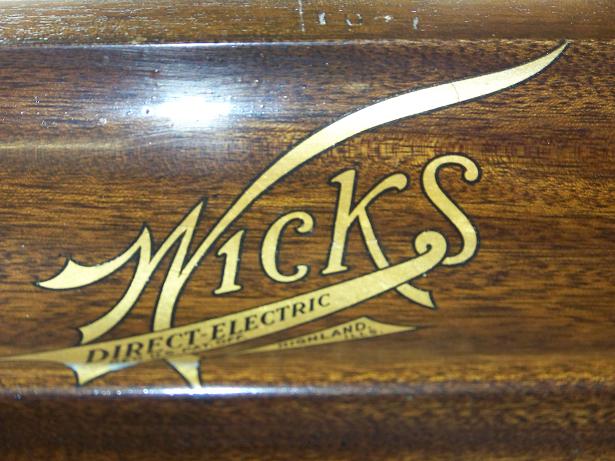
The Wicks emblem known as "The Flying W" This emblem was in use by Wicks in the 1920's and 1930's. Fortunately the original emblem was well preserved and we only needed to protect it with a couple coats of clear finish. This emblem is not available as a replacement.
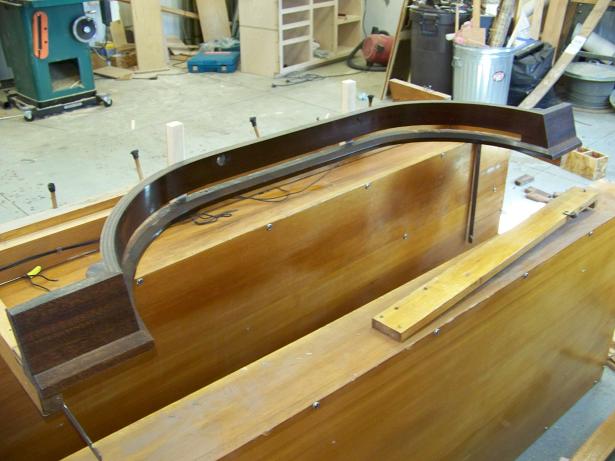
This is the stop rail for the console. This console has the curved stop rail known as a "horseshoe" which is usually only found on theatre organs. The curved rail is really an ingenious way to make the console more ergonomic as it allows all the stops to be within easy reach of the organist. The curve of the horseshoe generally follows the curve described by the outstretched hand of the organist. This allows for quick and easy changes in registration without having to reach to the extreme ends of a straight stop rail. This slot in the rail will be filled with stop tabs.
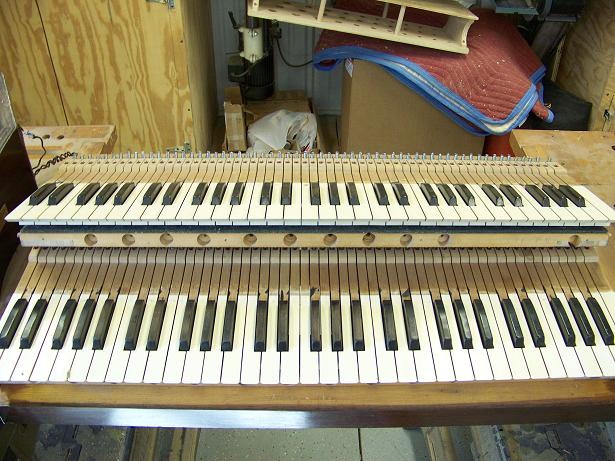
The original manual keyboards have been restored with new keysprings, cleaned, regulated, and the frames have been bored for the new preset pistons.
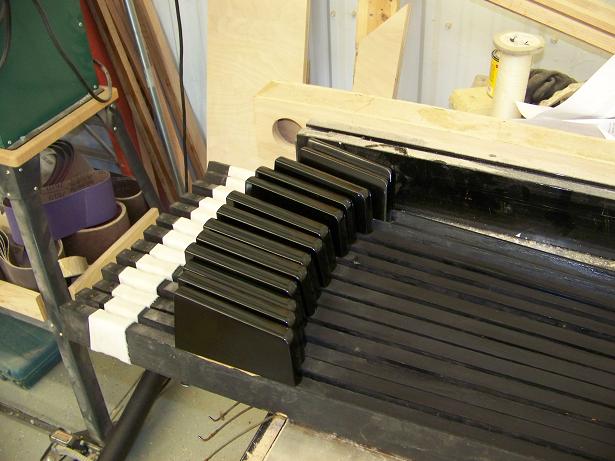
The pedal keys have been restored with new leather bushings (white material on left) and new phenolic sharps.
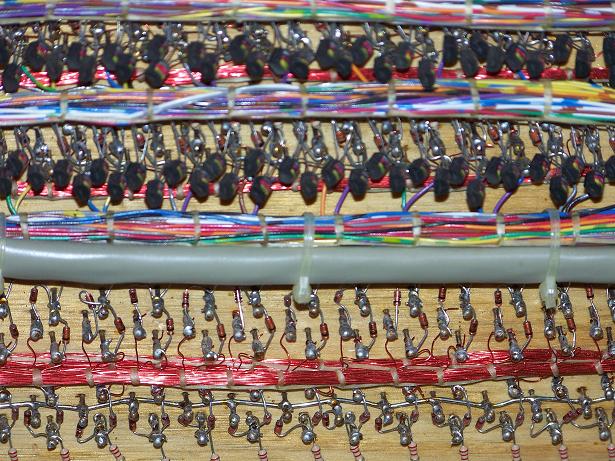
Someone in the past had installed "home-made" solid state electronic relays contructed by hand with the components soldered on to thousands of brass nails which had been driven through a piece of plywood. While very ambitious (can't imagine the amount of time it took to construct it!!), this system was prone to many problems resulting from shorted connections, cold solder joints, and broken wires.
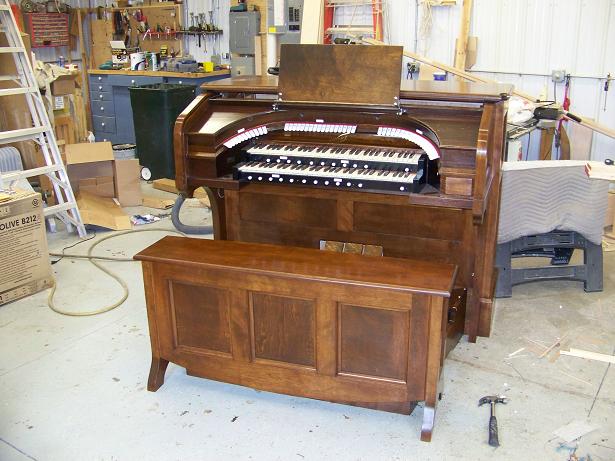
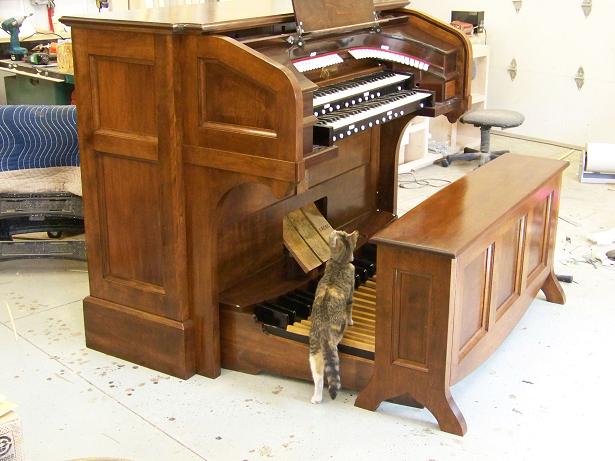
The console refinishing is complete and the console has been re-assembled. The following are pics of the assembled console.
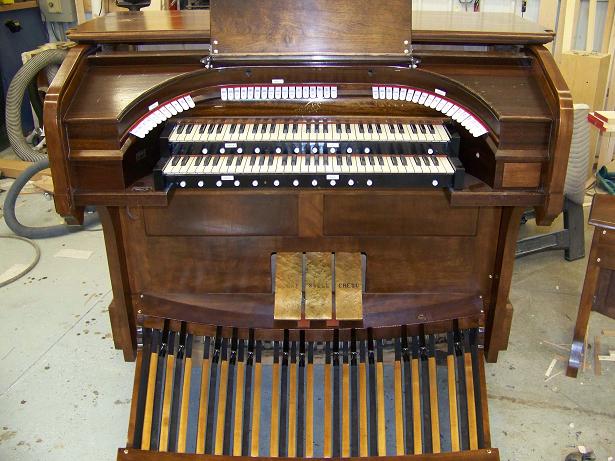

The refinished console is checked via "CAT" scan :-)
The console wiring harness on the form

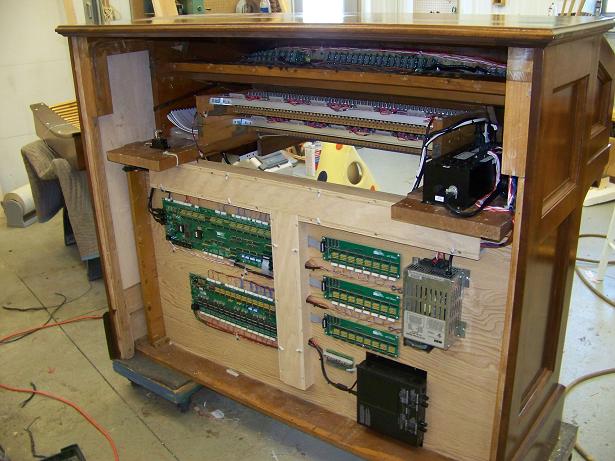
View of the inside of the console from the back after the new wiring has been installed.
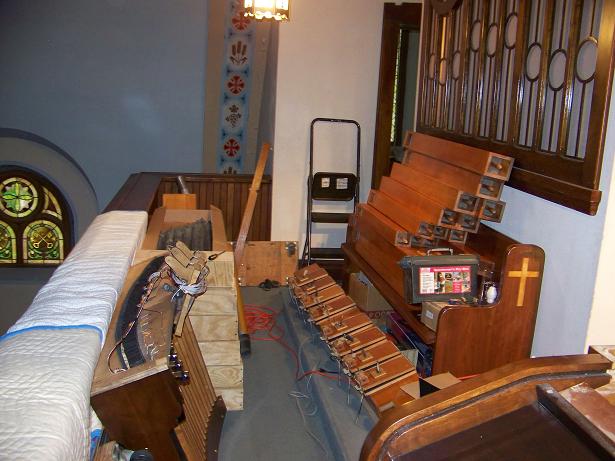
Installation has begun. Organ parts in the balcony of the church.
The swell chamber prior to cleaning.
Swell chamber after cleaning
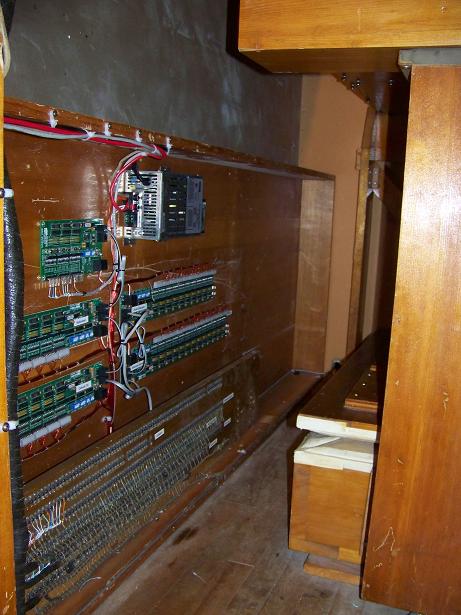
The swell relay and area under the windchest.
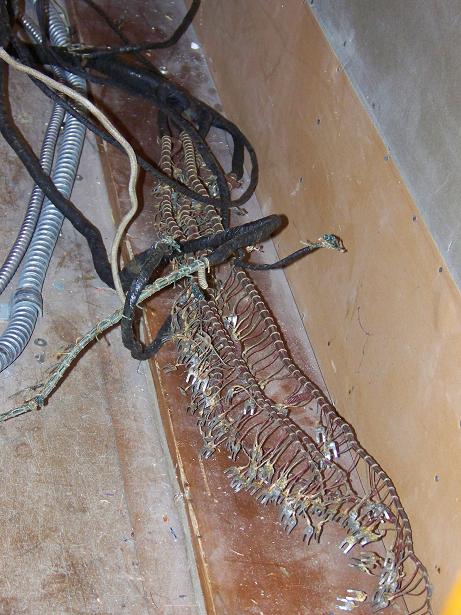
One of the chest cables prior to connection to the relay. The connected cable can be seen in the picture above. It begins at the lower left and continues toward the center of the picture. The chest cable has one wire for every pipe on the windchest. This particular Wicks organ was built before they began using there unique cotter pin junction boards so instead of simply plugging in the cable it has to be connected one wire at a time. This is done by sliding a U shaped clip (horseshoe clip) under a screw and then tightening the screw.
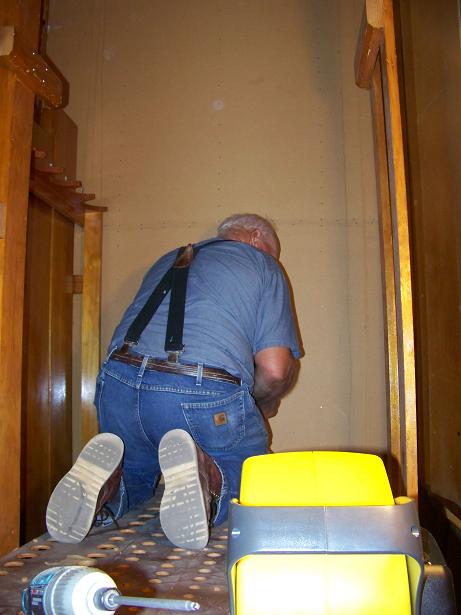
Dad removing the rack boards in the great chamber in preparation for cleaning the chest and oiling the magnets.
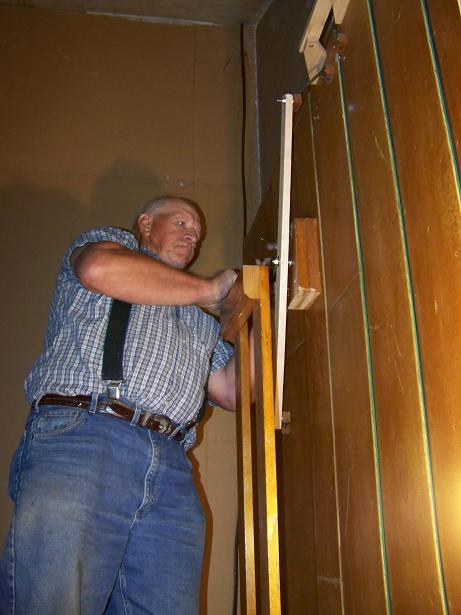
Installing the linkages for the new swell shade operator.
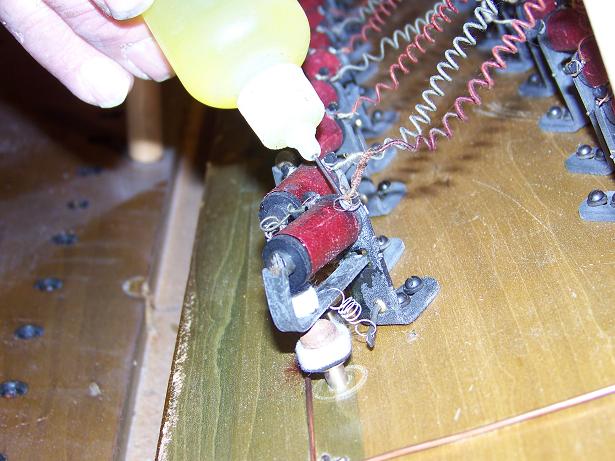
Oiling one of the Wicks Direct Electric Action valves in the great chamber. Two drops of oil are applied to the hinge points of each valve. Note the brass valve seat against which the valve pad seals.
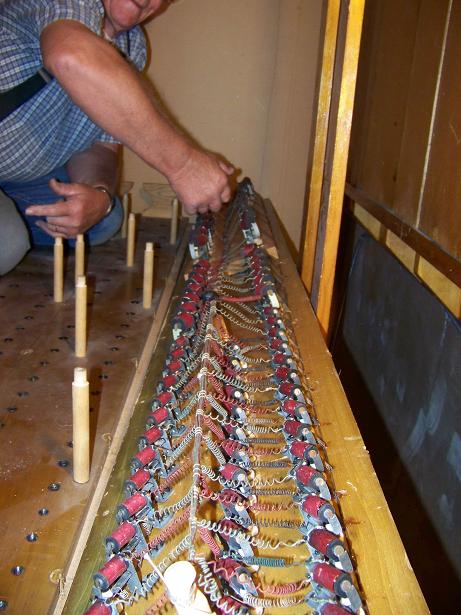
An entire toeboard of Wicks valves. There is one valve for every pipe on this toeboard.
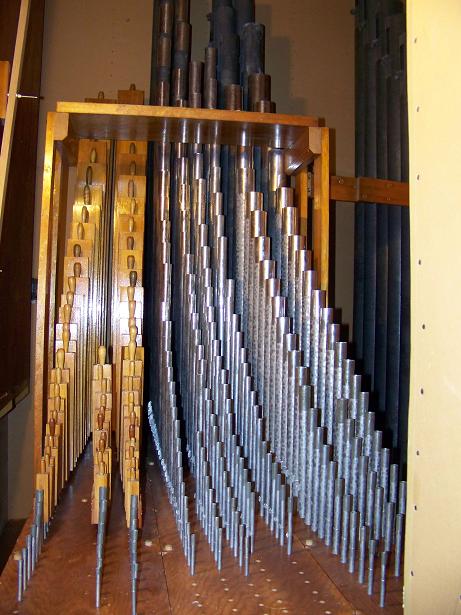
The completed great chamber with all the pipes in place.