Church of St. Peter - North St. Paul, MN
Organ Project Blog
Newest posts are at the bottom.
Last update - 2/22/09
Click here to return to our homepage.
_________________________________________________________________________________________________________________
10/1/08
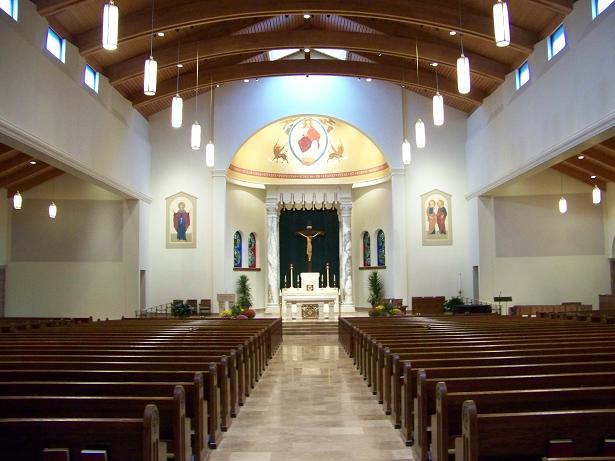
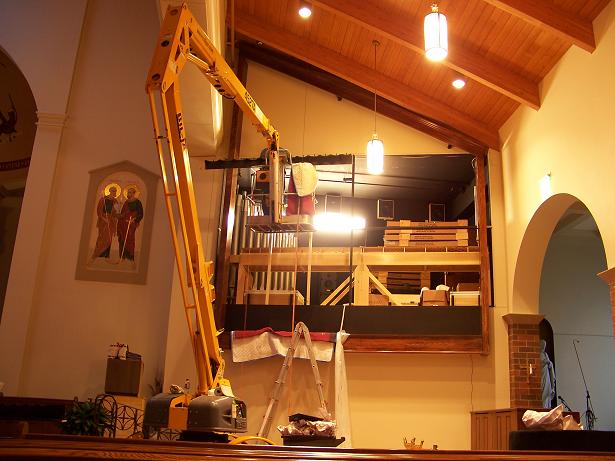
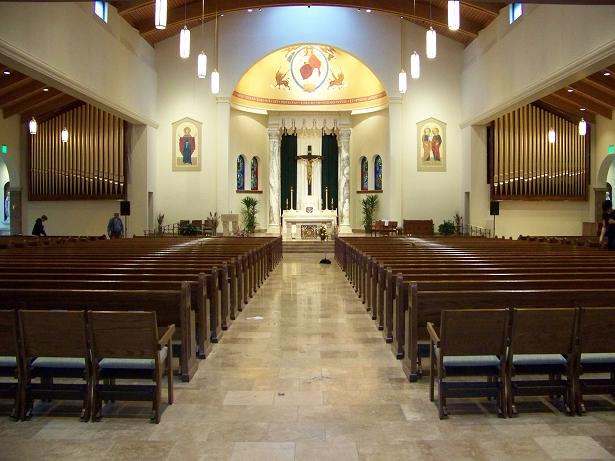
This project involves the creation of two identical organ cases incorporating 16' Principal pipes, and 6 ranks of speaking pipes behind the right-hand case. The pipes will be part of a 4 manual Rodgers digital instrument. The cases will be installed in front of the light gray areas of grille cloth on the far right and left sides of the nave as pictured.
_________________________________________________________________________________________________________________
10/1/08
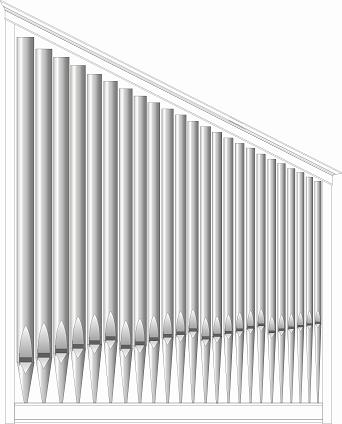
This is an elevation rendering of the new organ case. The pipes are of the 16' Principal rank and the overall dimensions are approximately 17' wide and 21' tall. The casework will be constructed of red oak and finished to match the woodwork of the church. The pipework is expected to arrive at our shop in early November and construction of the interior windchests and other structural items will begin on Monday the 6th of October with the casework to follow. Installation is planned for late January or early February. Check back often for updates.
_________________________________________________________________________________________________________________
10/8/08
I am in the process of milling and cutting the lumber. There will be over 200 individual pieces of lumber cut for this organ.
_________________________________________________________________________________________________________________
10/21/08
No new pictures yet. All the lumber has been milled at this point. Sanding and edge rounding are approaching completion and assembly will soon begin. Check back soon for more pictures.
_________________________________________________________________________________________________________________
10/22/08
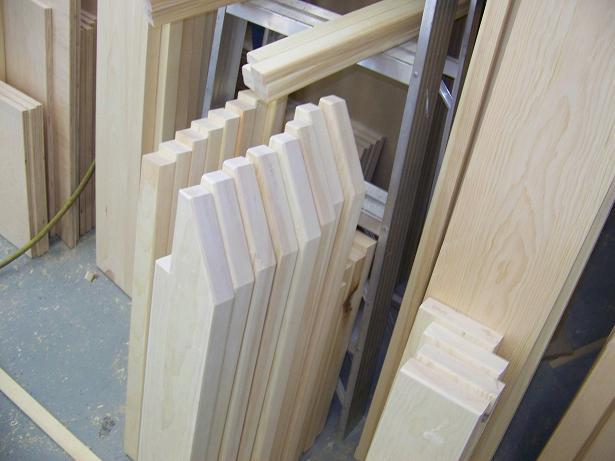
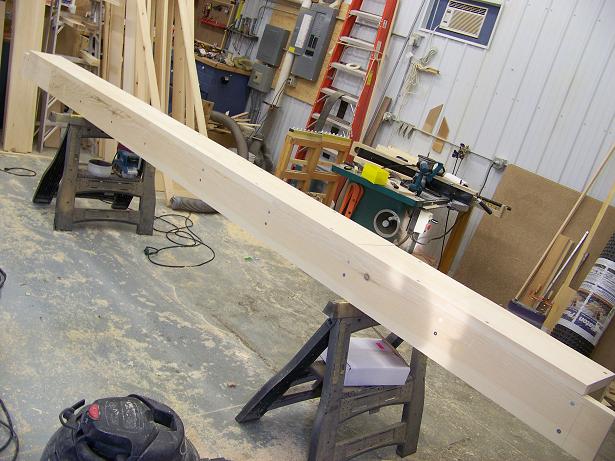
These are the legs which will support the main windchests. They are made of clear white pine.
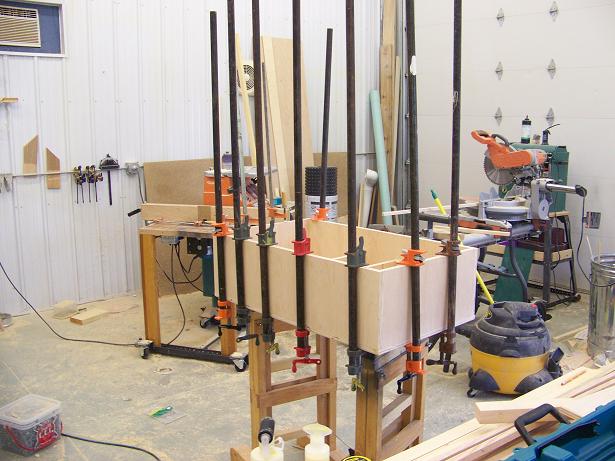
This is one of two wind regulators for the organ. The many clamps ensure a strong glue joint.
These are the parts which make up the frame of one of the windchests. The pipes of the organ will stand on top of these chests. The valves which control the flow of air to the pipes will be mounted inside. Clear White Pine is used to construct these windchests. The horizontal piece in the foreground is one of the ends of the chest. The stringers and sides are fixed into these ends.
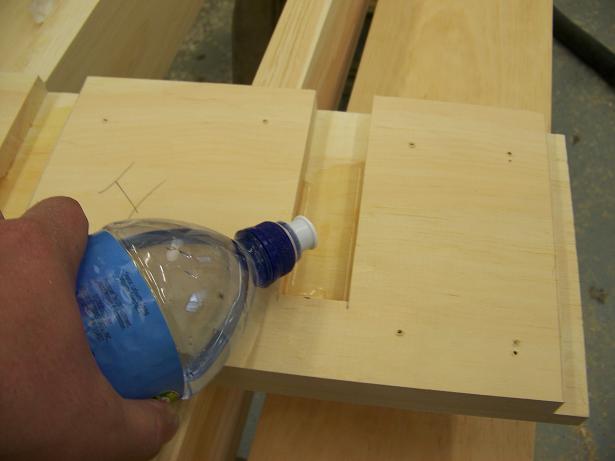
The joints of the windchest are assembled using a polyurethane glue that cures best in the presence of moisture. Here a joint is being moistened in preparation for the application of the glue.
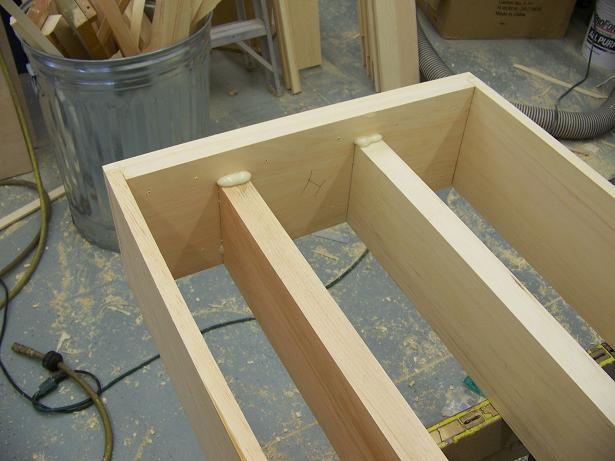
This polyurethane glue also expands as it cures filling in any gaps and creating and ultra-tight joint. Once dry, the dried foamy glue that has squeezed out in the above picture is easly sliced away with a sharp putty knife creating an almost invisible joint.
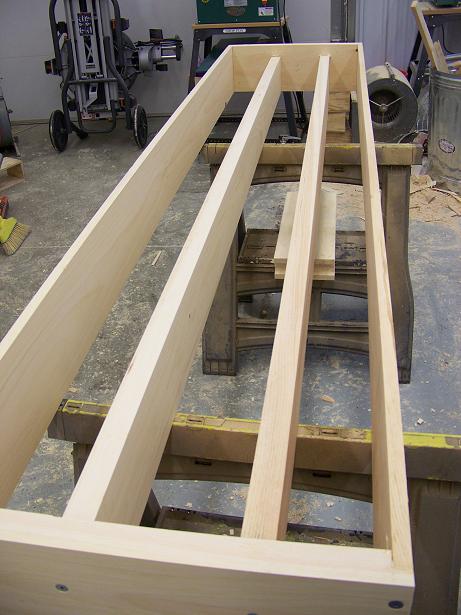
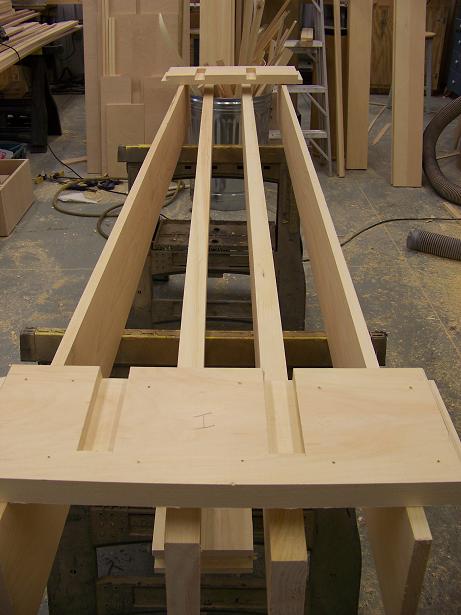
Here is the completely assembled frame for one of the windchests. There will be two like this in the organ behind the facade pipes.
__________________________________________________________________________________________________________________
10/23/08
This is one of two chests for the facades of the organ. The side of the chest which goes against the wall is shown. This chest is for the facade of non-speaking pipes which will be installed above the ramp in front of the left hand tone opening. A mirror image of this chest will be built for the opposite side of the church.
_______________________________________________________________________________________________________________________
11/6/08
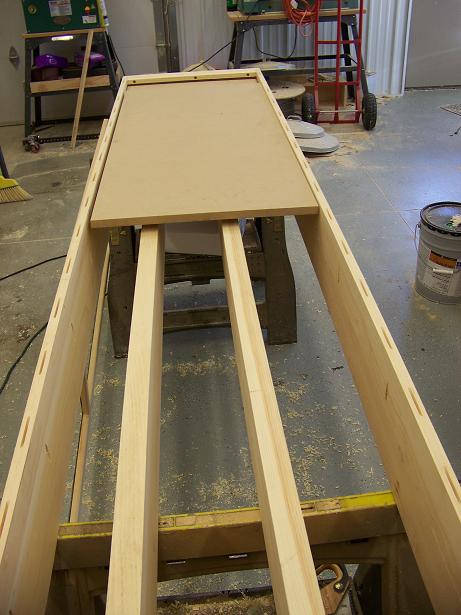
Here we are installing the panels and framework that make up the bottom of the windchests. First the panels are placed in the chest at the top of this picture. They are made of MDF. This material generally has no place in organ building but I have found it to be the best marterial for making these panels as it does not warp and twist like other materials such as plywood or solid woods. When these wind chests are installed in the organ gravity and the pressure of the wind inside the chest will hold these panels in place against the felt gaskets shown in the next step. When access to the inner workings of the wind chests becomes necessary it is very quick and easy to open one of these wind chests. The organ is simply turned off and the appropriate panel is slid open. There are no screws to remove or to get stripped out. Plus, this type of bottom board system is simpler to manufacture and install on the windchest compared to the traditional style which involves many small panels of wood and a LOT of screws to hold them in place.
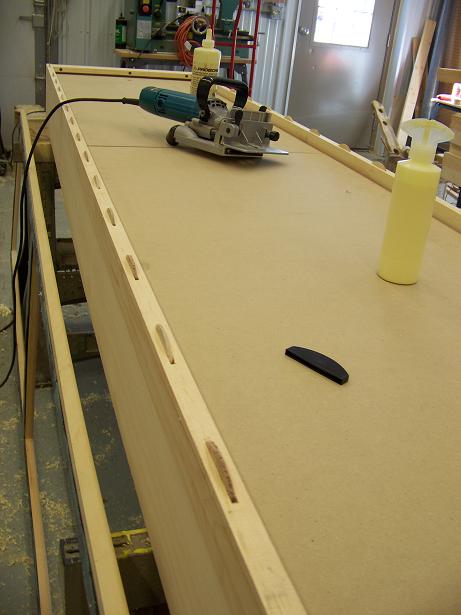
Here the bottom frame is laying in plus upside down on the bottom of the windchest. The MDF panels are clearly visible. This frame is attached to the perimeter of the wind chest using glue, 'biscuits', and screws. The blue machine is called a biscuit joiner and it is used to cut the semi-circular slots into which the pressed wooden 'biscuits' are inserted. As special applicator on the glue bottle on the right is used to coat these slots with glue.
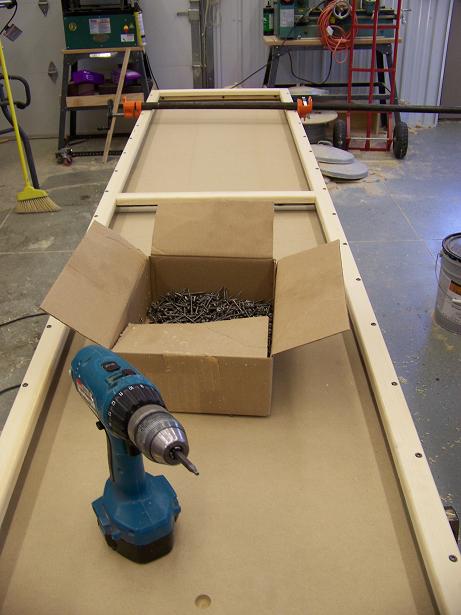
Here is the frame and panels completely installed. Screws are used around the perimeter, along with the glue and 'biscuits', to securely fasten the frame to the windchest.
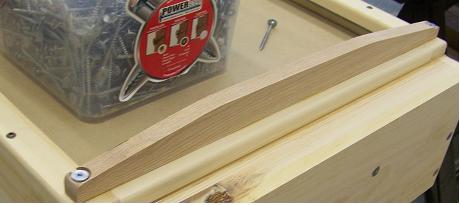
The final step in the installation of the bottom panels and their frame is the installation of the cross rail reinforcements. These are bars, made of oak, that cross the windchest horizontally to strengthen the frame. These are necessary as the is no wood backing the frame at these points. There are three cross rails on each chest. Believe it or not, the force against these panels and frames are quite substantial when the wind is turned on. The wind pressure inside is 4" water column. That's only 0.145 pounds per square inch. This might not seem like much but when you figure that the bottom of the windchests contains an area of about 2200 sq inches you end up with a total force of 319 pounds pushing against the back side of those panels!
______________________________________________________________________________________________________________________________
11/09/08
As of Friday all the side panels for the case mullions have been glued up. The largest are about 25' long. As we are now begining our Christmas tuning runs work will be suspended until mid December. Check back at that time to see the next steps.
______________________________________________________________________________________________________________________________
1/1/09
Work resumes in the shop now. Assembly of the casework is the next step. Pictures to follow soon.
__________________________________________________________________________________________________________
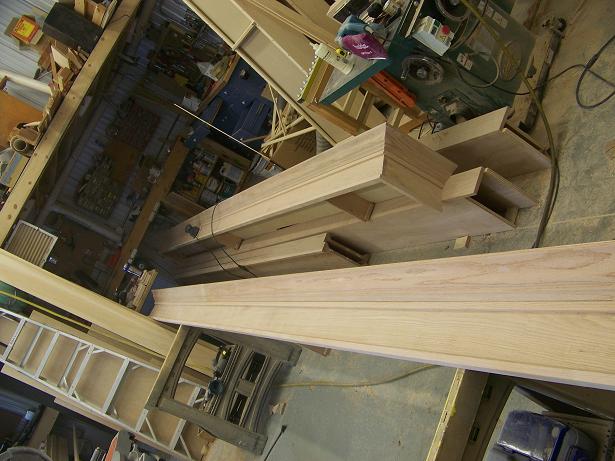
1/12/09
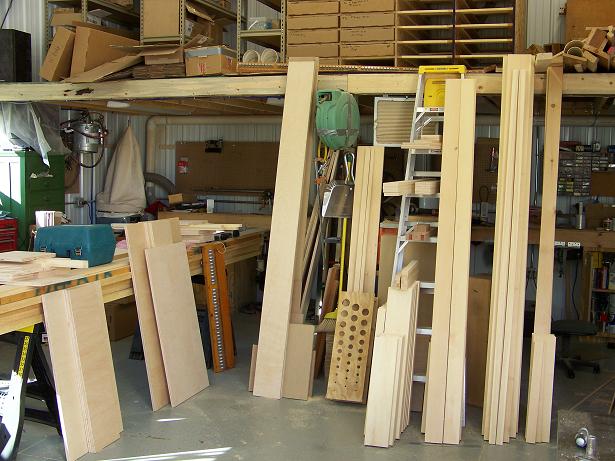
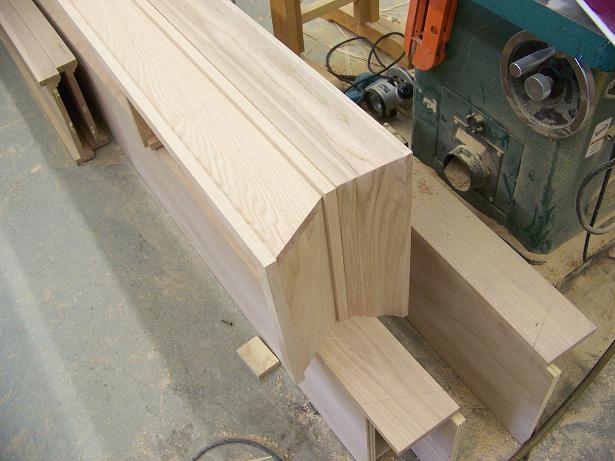
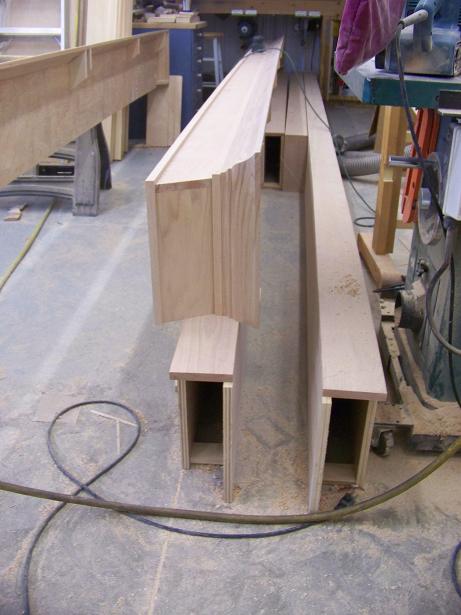
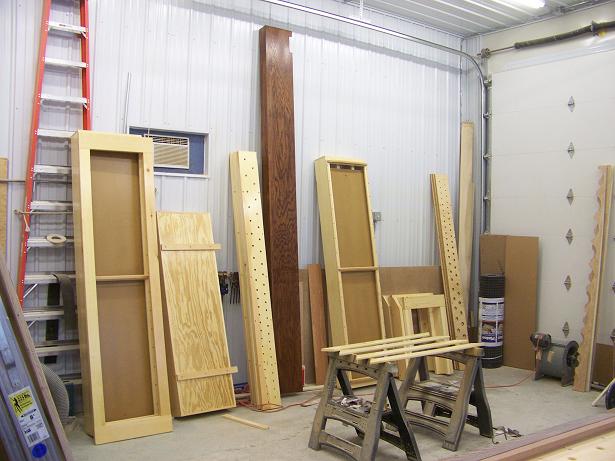
The case is complete and has been test fit together. I don't have any pictures of it together as I can't get far enough away from it in my shop to take a picture. This was quite a challenging project as I was not able to assemble the case vertically in my shop as my ceilings are only 14 feet and the case is about 22 feet tall! We put it together laying on the floor. These pictures are of the parts of the case waiting to be assembled.
_______________________________________________________________________________________________________________
1/21/09
The pipes arrived today. All 4,500 pounds of them! The large crates on the bottom contain the visible facade pipes. The boxes have all the interior pipes in them.
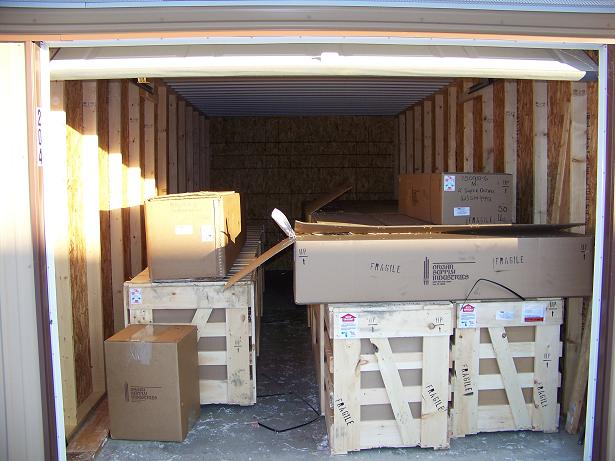
There are 6 of the large wooden crates and about 16 cardboard containters of various sizes.
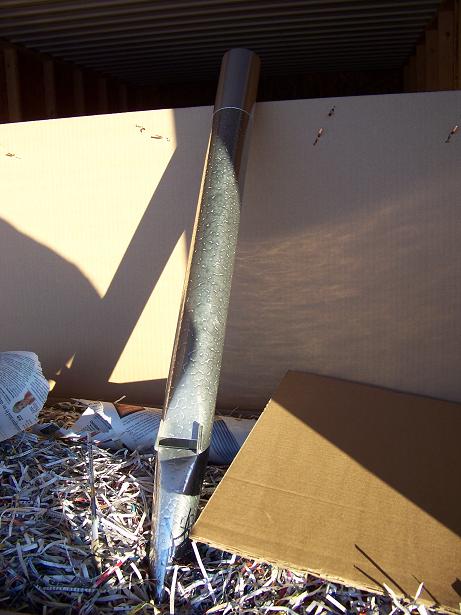
This is one of the pipes of the 4' Octave. The pipe is made of spotted metal which is an alloy of tin and lead.
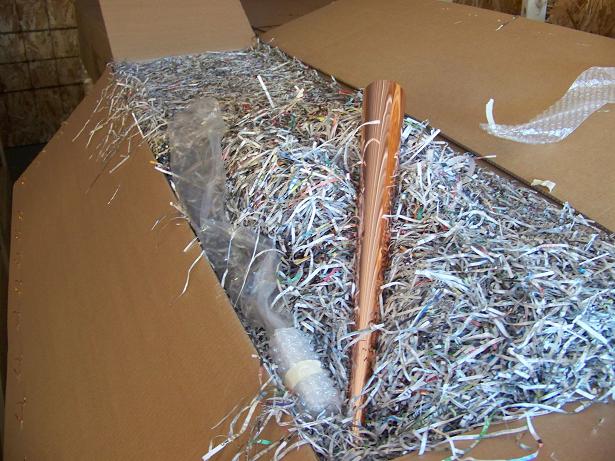
This is one of the polished copper trumpet pipes which will go in the back of the church.
_________________________________________________________________________________________________________________________
1/23/09
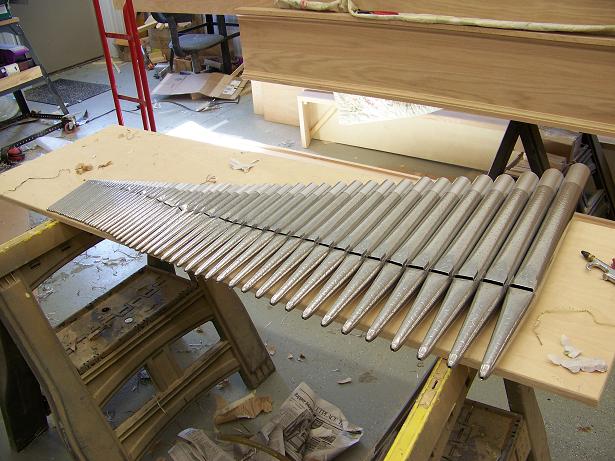
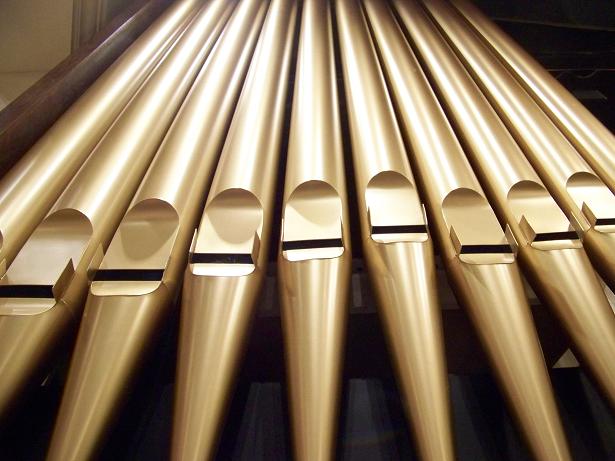
All of the pipes have been unpacked, inspected, and measured. This is a picture of one of the 6 ranks in this organ. It is the 2' Super Octave of 61 pipes.
___________________________________________________________________________________________________________________
1/30/09
All of the wood work has been completed and is in the process of being stained and finished.
_________________________________________________________________________________________________________________________________
2/4/09
Windchests have been set up and the pipes have been fit onto the chests.

___________________________________________________________________________________________________________________________________
2/5/09
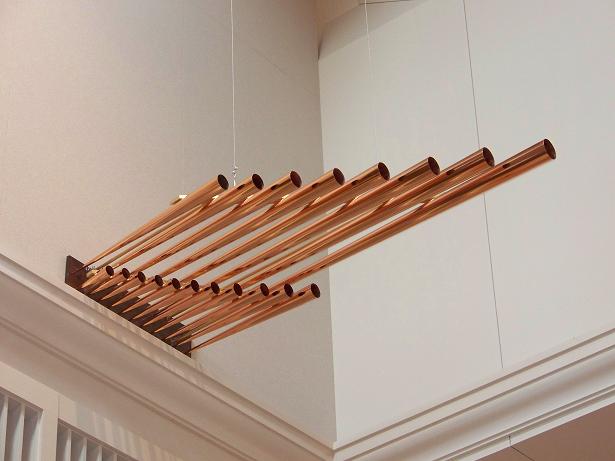
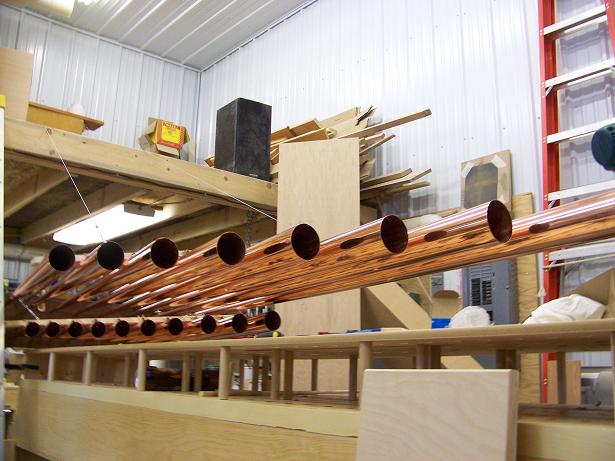
The polished copper En Chamade Trumpet resonators have been assembled onto their racking system
____________________________________________________________________________________________________________________________________
2/10/09
INSTALLATION HAS BEGUN!!!!!!
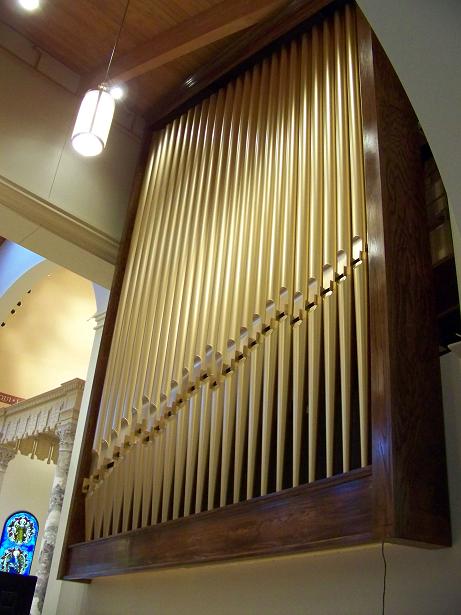
This is one of two identical cases.
____________________________________________________________________________________________________________________________________
2/12/09
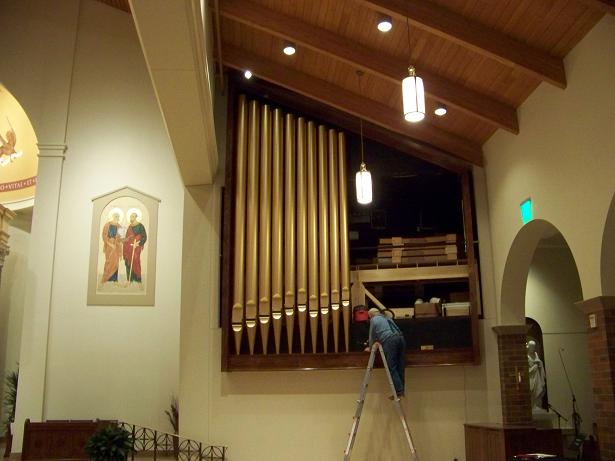
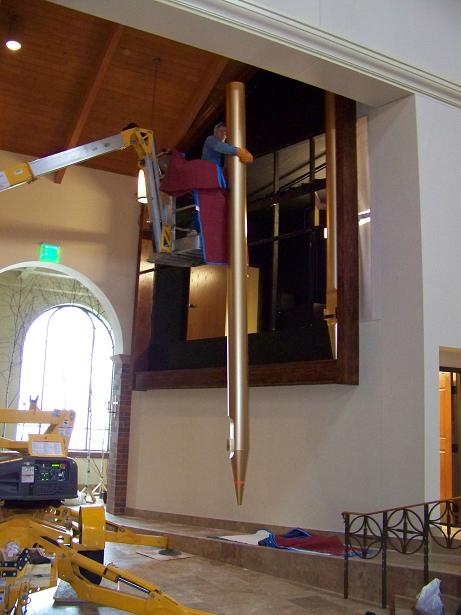
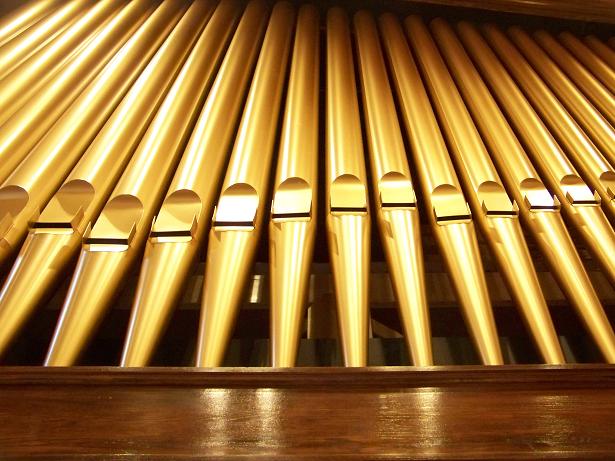
The facade pipes are going in.
___________________________________________________________________________________________________________________________________
2/13/09
More installation pictures.
Hold on tight!!
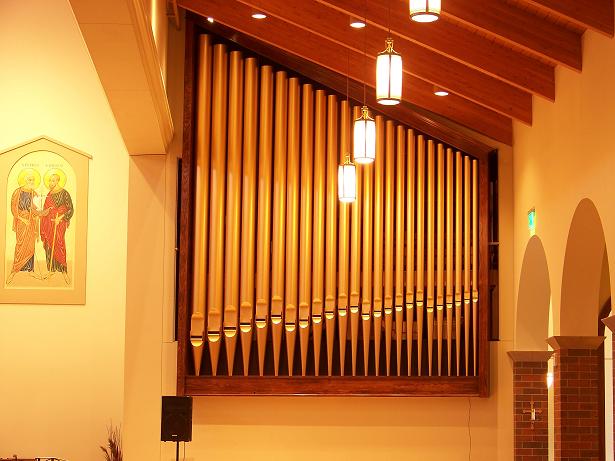
The western facade is complete.
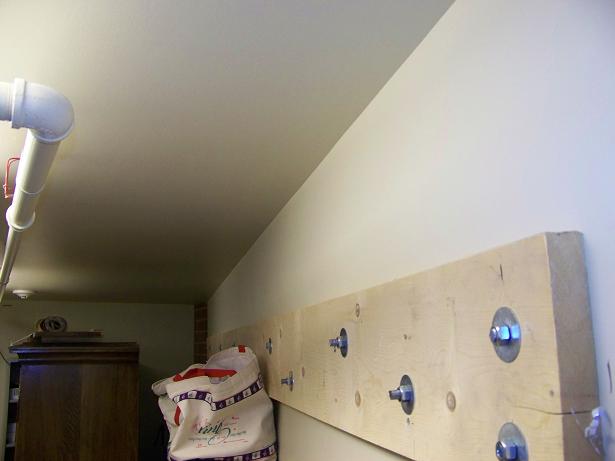
The beam which supports the casework and large facade pipes. There is a beam like this on both sides on the back side of the wall from where the organ pipes are. The woodwork and pipes are held to the wall with about 14 - 1/2" bolts.
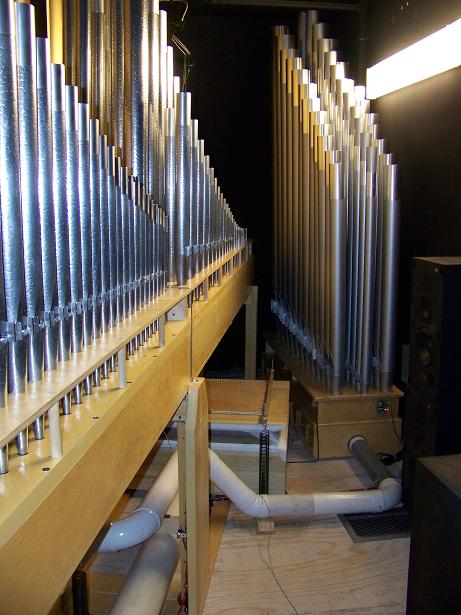
This is a view of the pipe chamber behind the west facade of pipes.
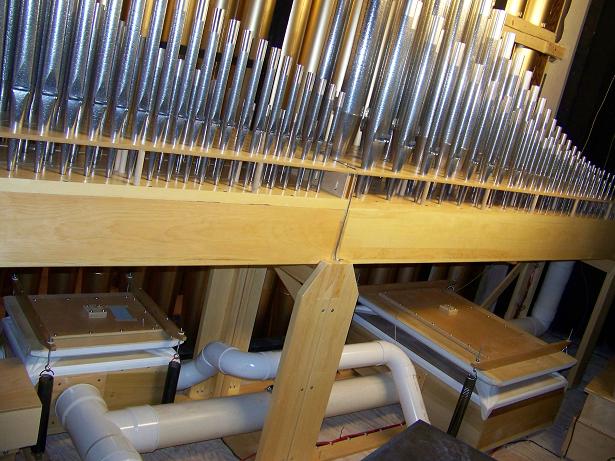
Another view of the pipe chamber showing the PVC windlines and the bellows.
The finished instrument!
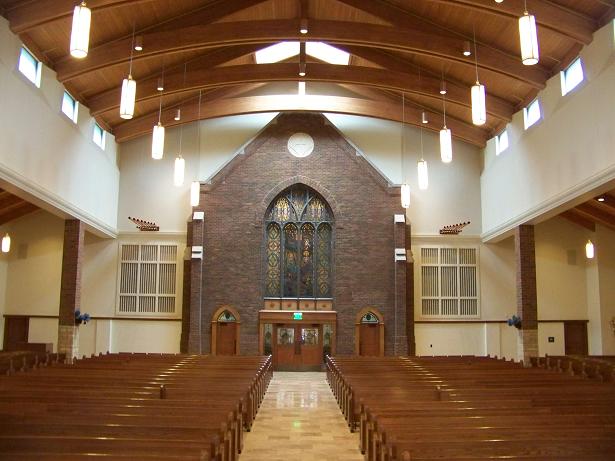
This is the back of the church. The resonators of the En Chamade Trumpet facade are to the left and right of the large brick area.